
Set up a Journey with PostGrid custom activity
How to create a Salesforce Marketing Cloud Journey using a Data Extension entry source and the PostGrid Custom Activity.
To create a new journey in the marketing cloud, first, you have to navigate to Journey Builder.
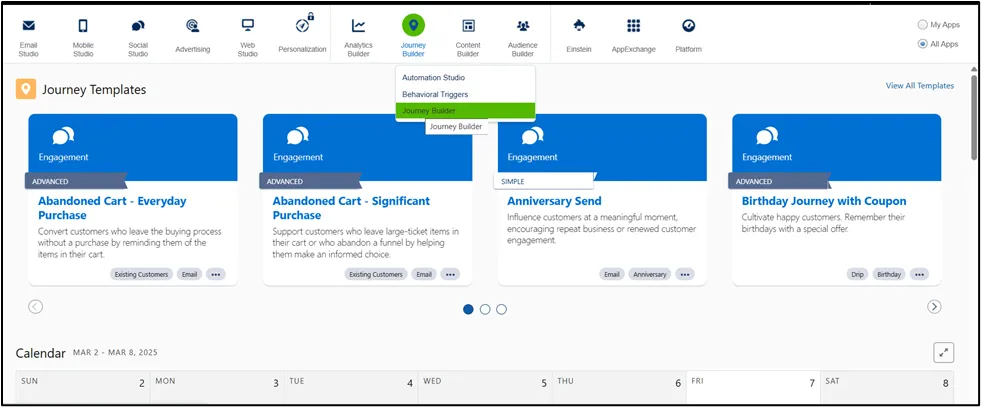
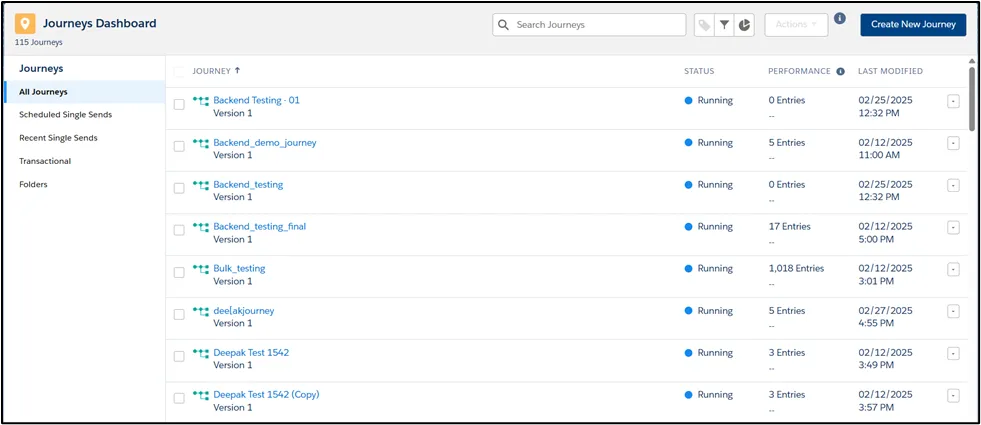
Click on Create New Journey
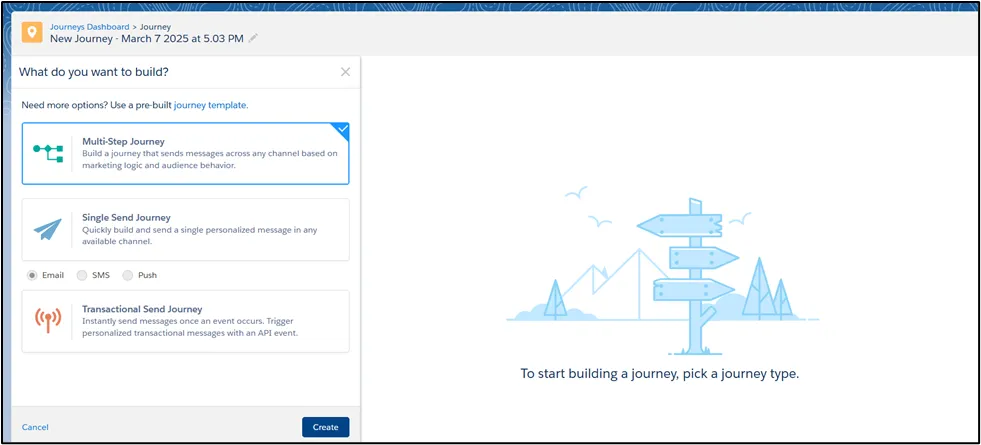
Select Multistep Journey and click on create
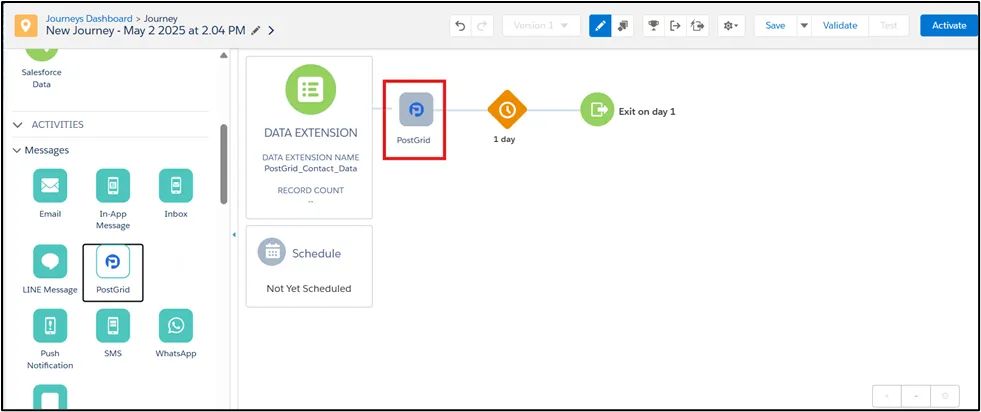
Select Data extension as an Entry source and PostGrid as activity from messages list and add it to the journey by drag and drop
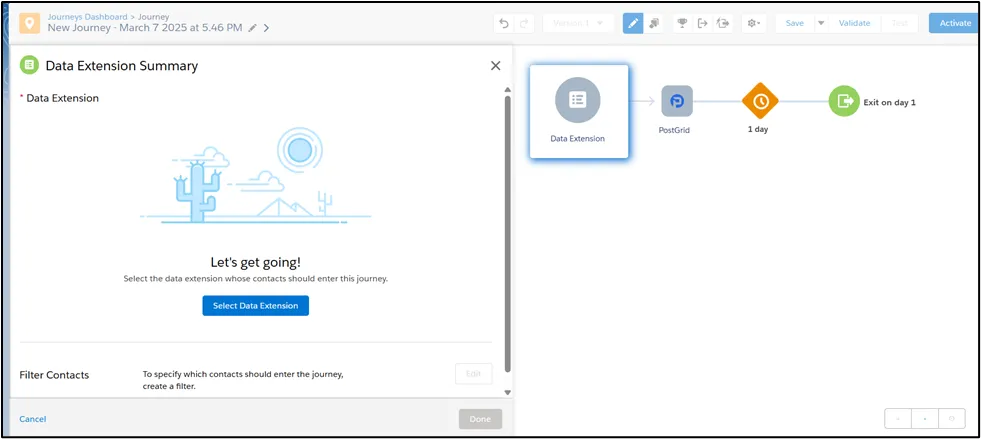
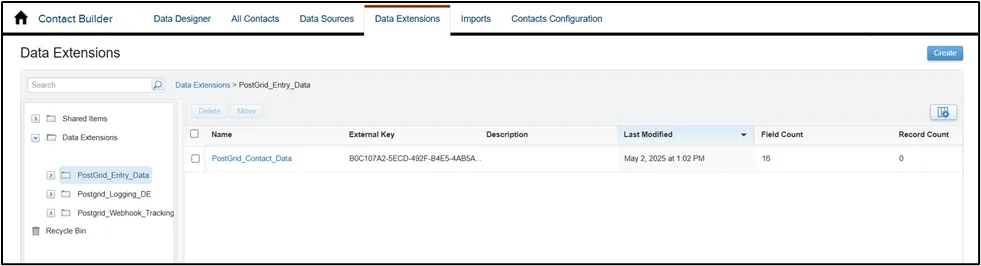
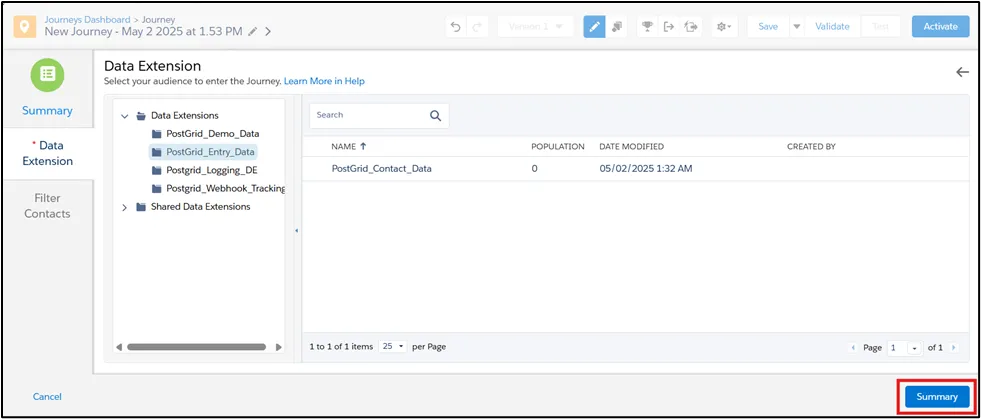
Click on Data Extension and choose PostGrid_Contact_Data as entry source.
Click on Summary and then Done.
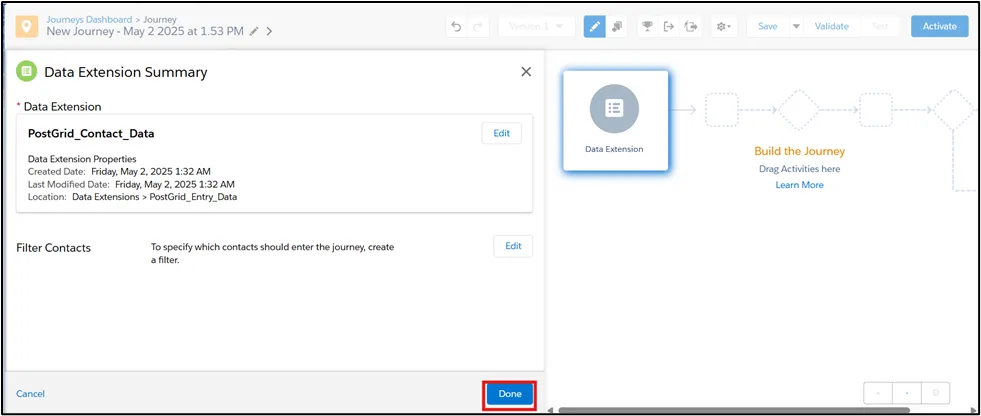
After completing all the steps for data extension, proceed by clicking on the PostGrid Custom Activity within your Journey to begin setup
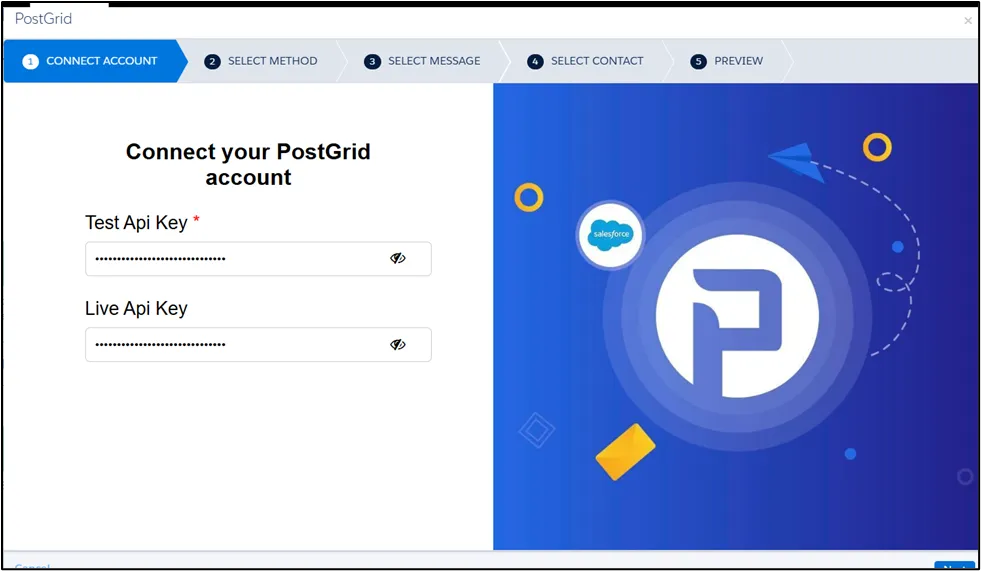
In Step 1, you can see the test API key and live API key you set up in the
PostGrid_Credentials_Data data extension. If you wish to proceed with the
current setup click on Next.
You are able to change the API key here for the current journey only.
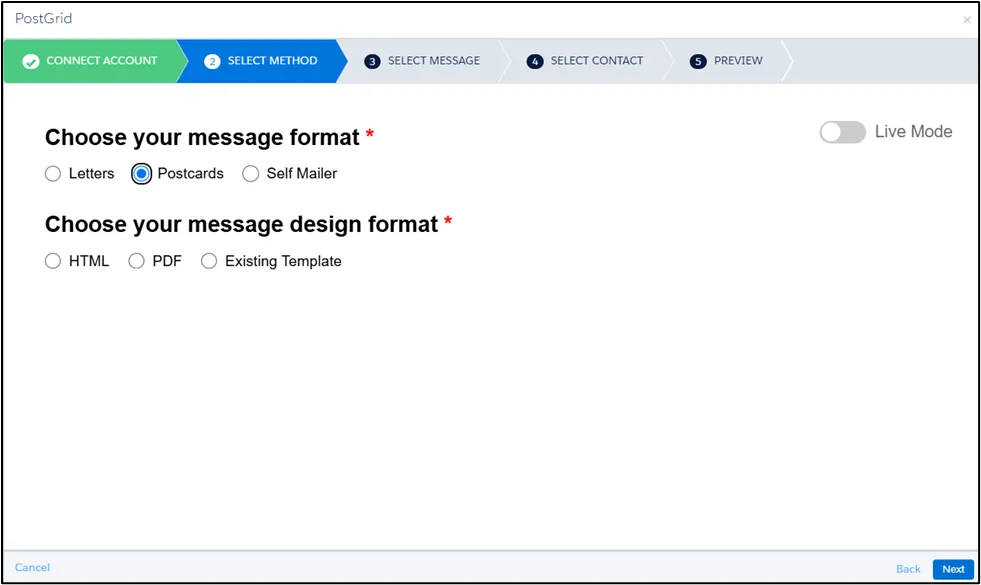
In Step 2, select a Message Format from Letter, Postcard, or Self-Mailer. Then choose a Message Design Format of HTML if you want to enter custom HTML, PDF if you want to provide a PDF URL, or Existing Template if you want to use an existing template from your PostGrid account.
You can also toggle between test mode and live mode in PostGrid. The live mode toggle will only be enabled when a valid live API key is entered in the Connect Account screen. Orders placed in test mode are for testing purposes only and will not be processed or sent.
The next screens will vary depending on your selected Message Type, Letter, Postcard, or Self-Mailer, and are described in separate sections accordingly.