Customizable Images and Backgrounds in Templates
How to use image and background placeholders in PostGrid templates to personalize mailings with logos, QR codes, and custom visuals.
If you have access to individual images that you would like to include with every mailing you send out, this guide will explain how to achieve this easily. While adding text can be great for personalizing your mailings, incorporating images can enhance the impact of your communications.
Setting up a Template
Section titled “Setting up a Template”The easiest way to incorporate customizable images and backgrounds into your templates is by using our template builder with placeholders.
This feature allows you to see how a custom logo or QR code would fit in terms of size and location. For optimal results with custom images, it is recommended that all replacements have the same size. However, you can configure your templates to accommodate changes in size, although the visual behavior may be difficult to predict.
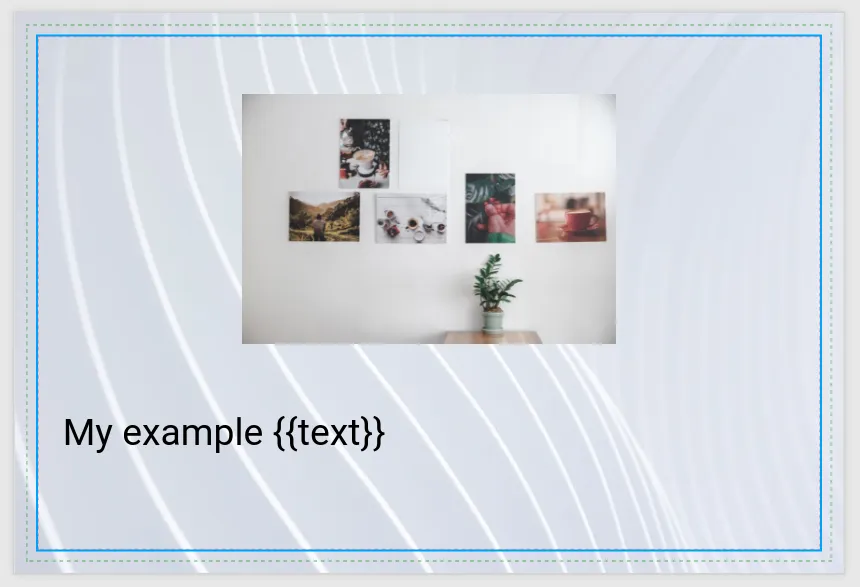
With this in mind, let’s create a basic postcard template that includes a background image and picture as placeholders, along with a standard text merge variable.
Identifying Images and Backgrounds in HTML
Section titled “Identifying Images and Backgrounds in HTML”Now that the placeholder template is ready, save it and click ‘Back’ to view the automatically generated HTML. From this generated HTML, you can make the necessary adjustments and set up the merge variables.
Before we proceed with the exact process, let’s discuss how you can locate the saved background and images.
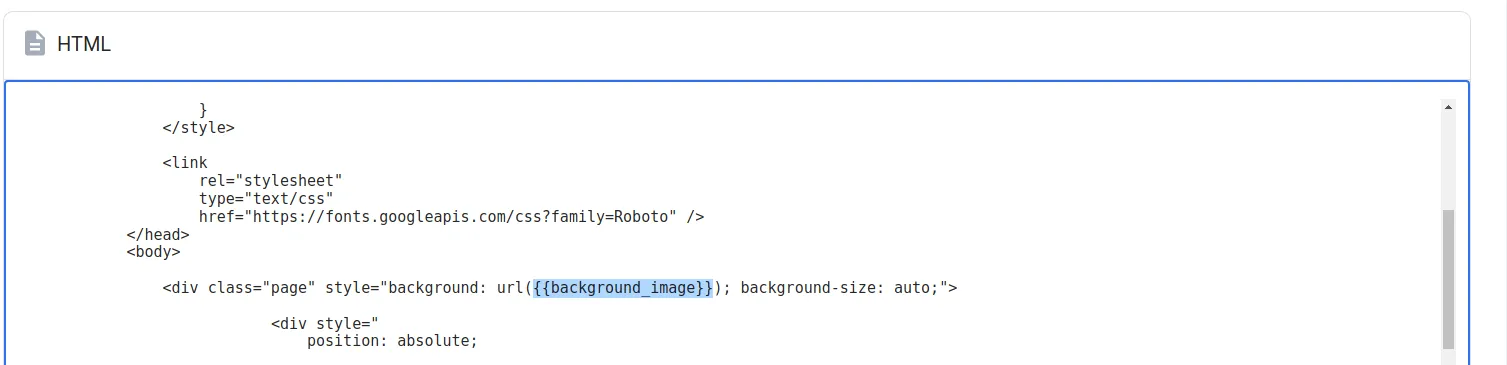
Let’s start with the background. Here is how it appears in the HTML format:
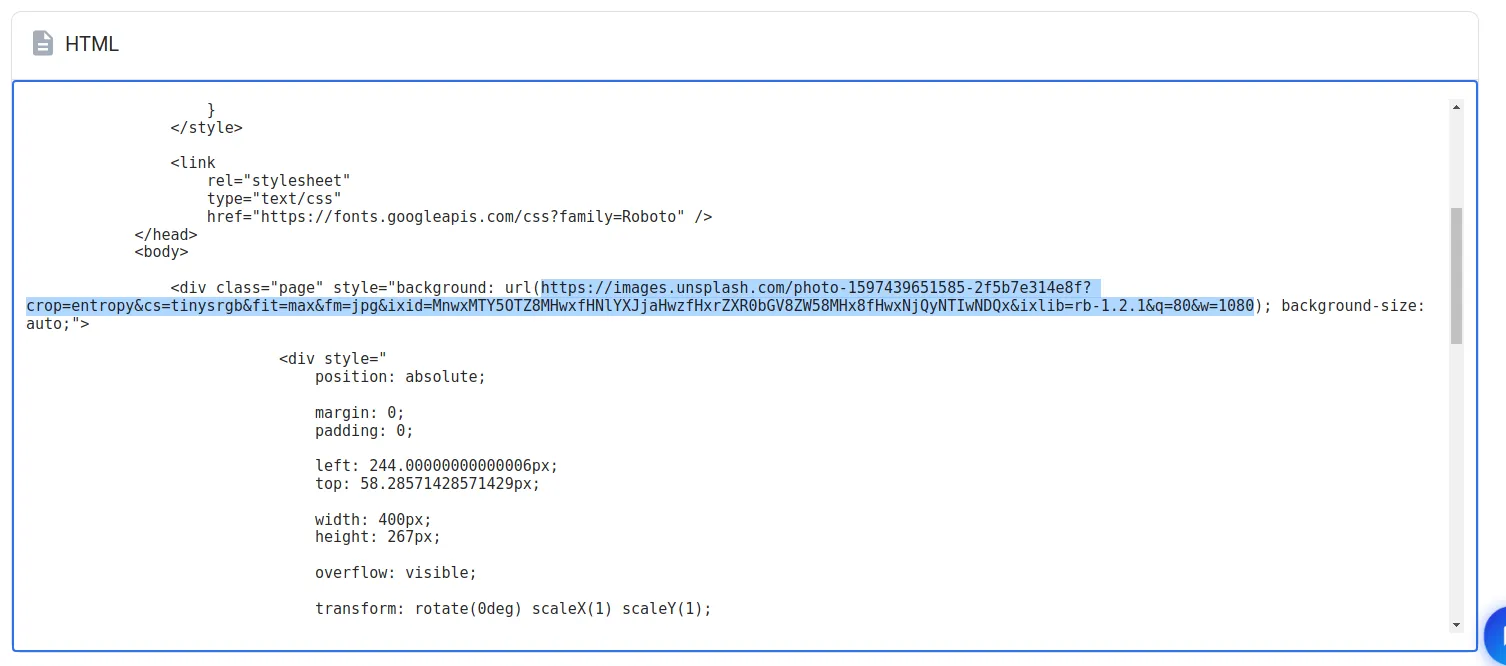
If you were to follow the highlighted URL, you would actually be taken to the image that was used as the background. To identify this systematically for all pages, you can use the browser’s built-in search functionality to quickly navigate to each page by searching for class=“page”. This search is useful as the background corresponds to each page.
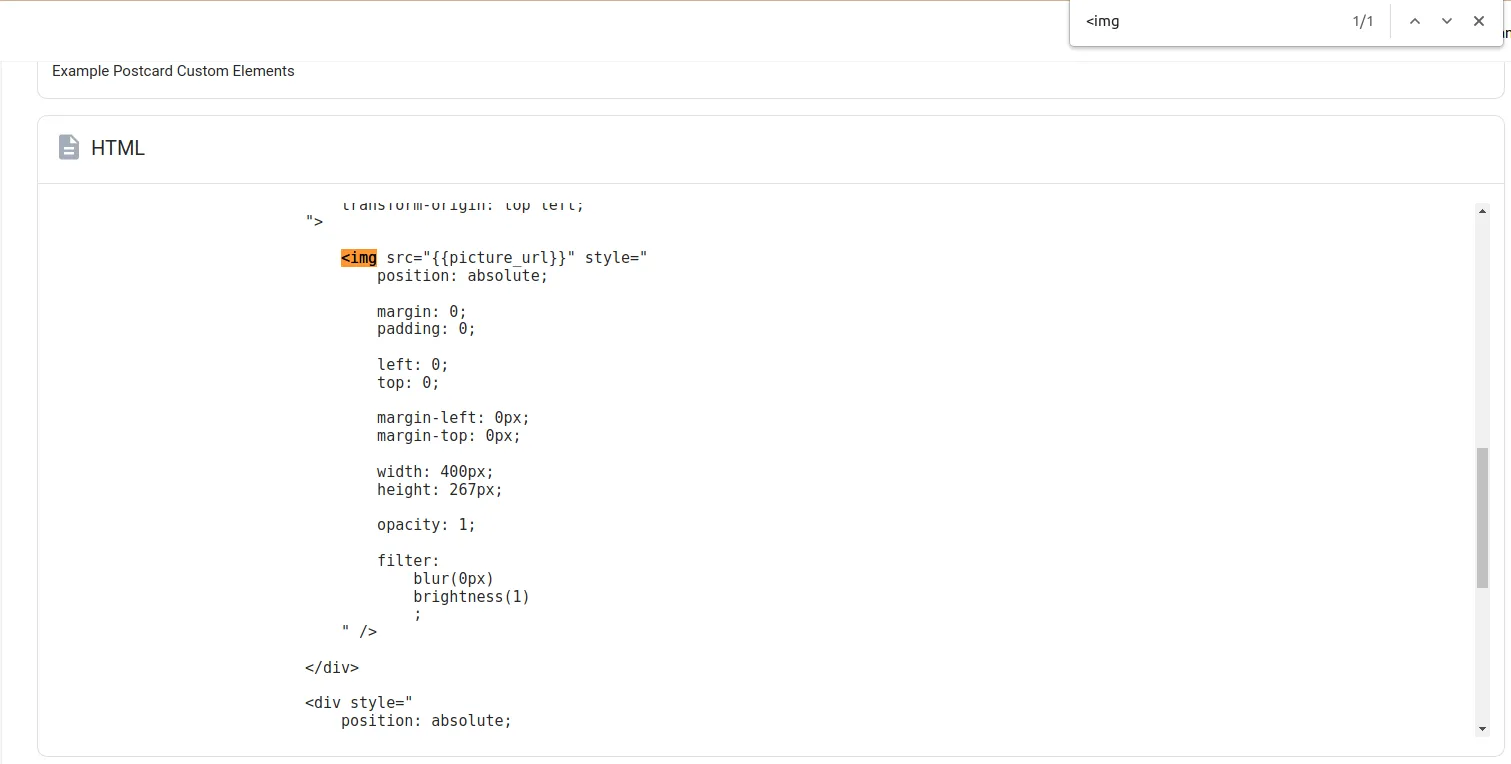
Moving on to the image, let’s see how that appears in the HTML
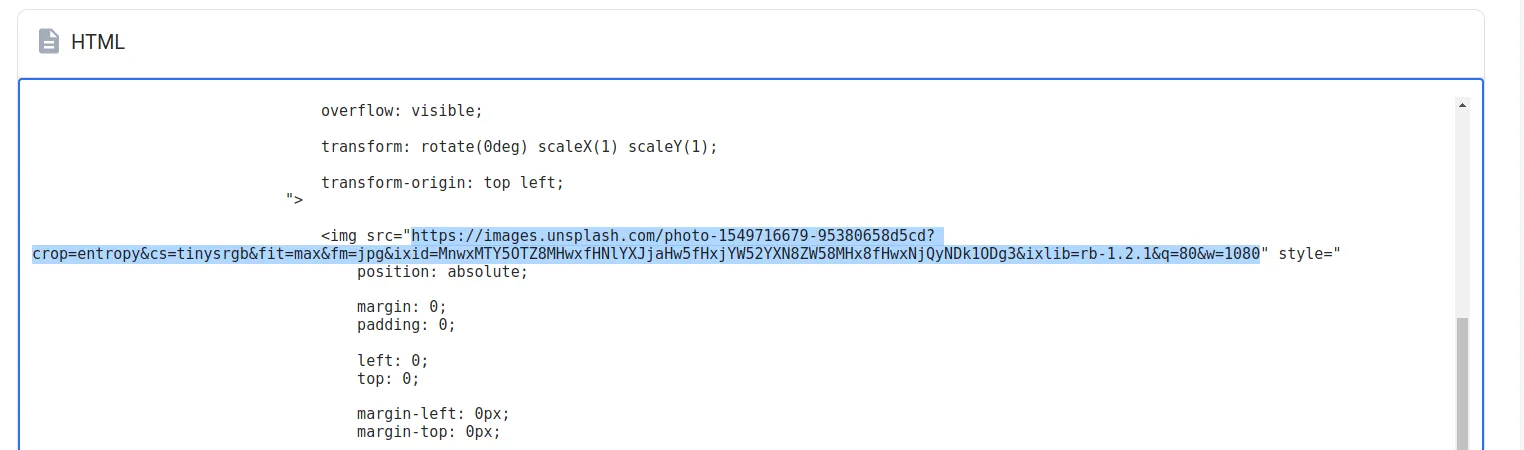
To access the image included as a placeholder, you can follow the URL.
To locate all images in the document, you can use the same search technique and verify the URL to ensure that it is indeed the specific image you are looking for.
In this case, searching for <img is appropriate as it will identify where all
images are stored in the document.
Having a general understanding of how HTML documents are structured, as well as how they are styled with CSS, will be advantageous in easily identifying the location of images and backgrounds in the document.
It is important to note that if a color is used for the background instead of an image, a CSS color value will be provided instead of a URL to an image, and background will be replaced with background-image.
Colors can be specified in different ways, and below are a few examples:
background-color: rgb(232, 72, 72)background-color: #e84848background-color: red
To set up colors, you can use an online color picker for convenience.
Setting up Merge Variables
Section titled “Setting up Merge Variables”Now that you have identified the backgrounds and images in the HTML document, you are ready to edit the document and set up the merge variables.
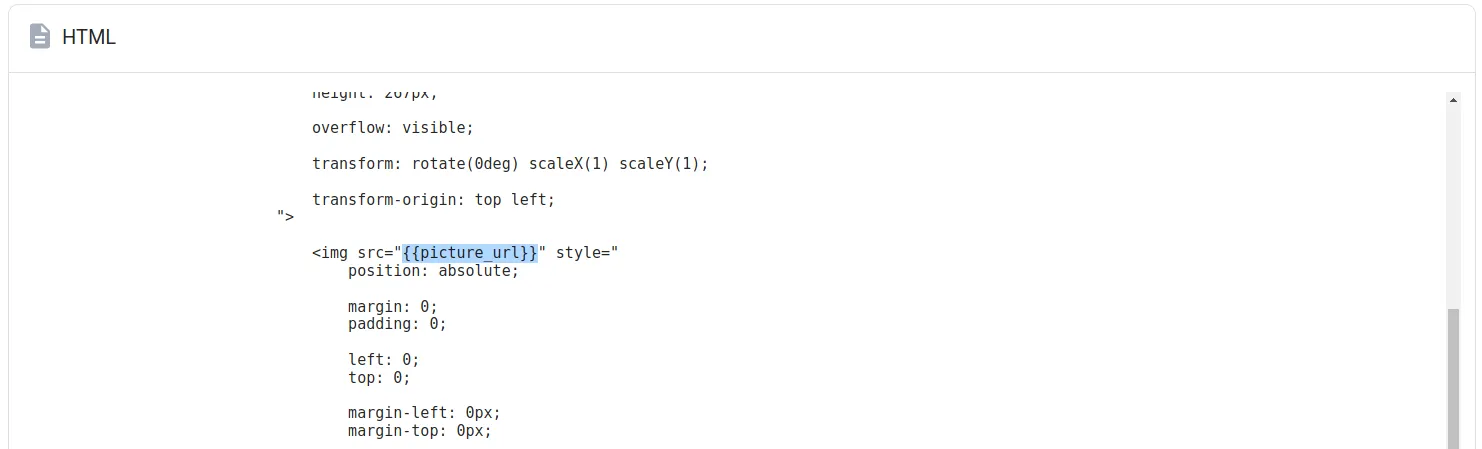
To do this, simply replace the URL for the image with a merge variable using the syntax you are already familiar with.
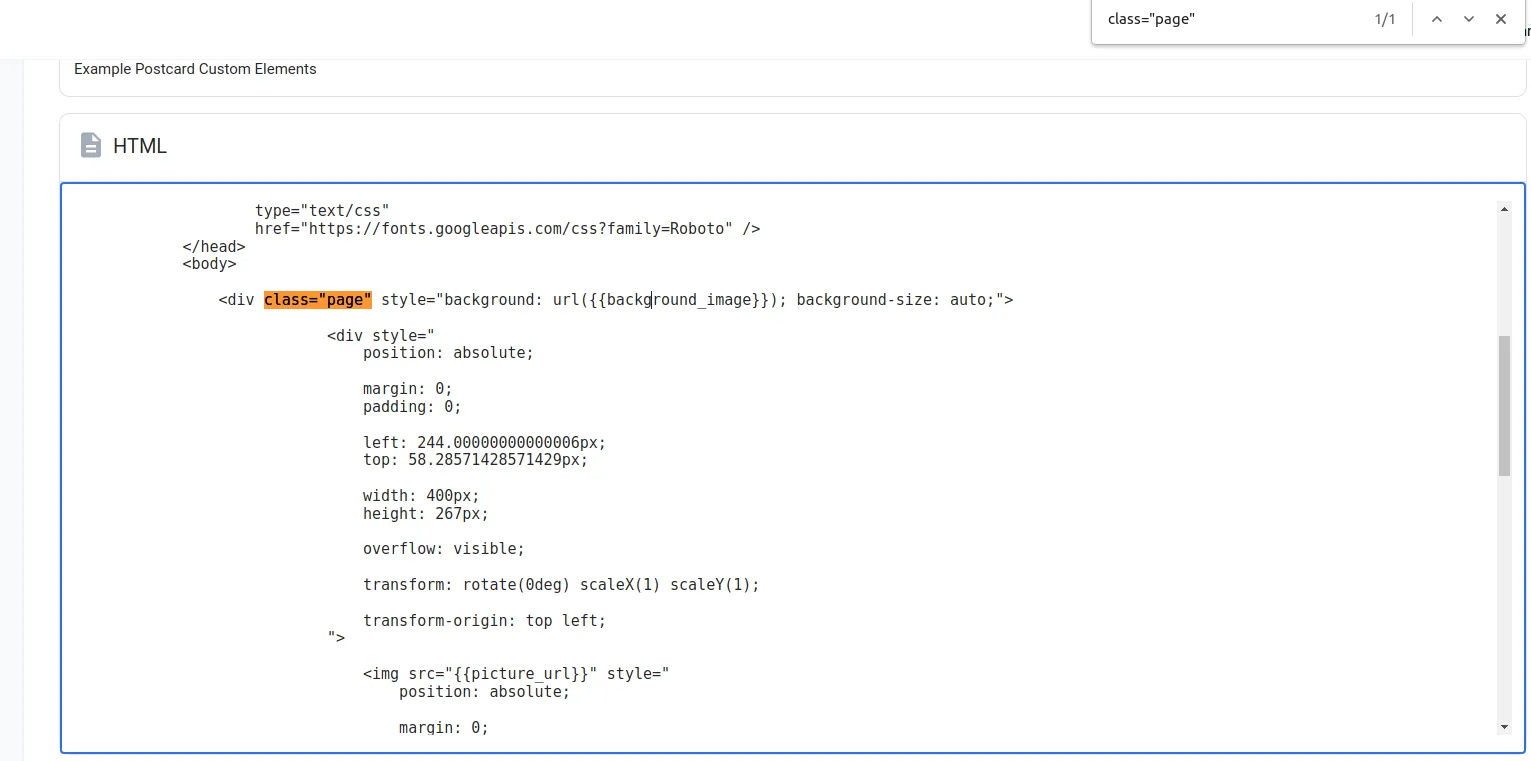
Below is an example of how you can handle the replacement for the background image.
And here’s how the replacement goes for the image URL.
Once you have set up the merge variables in the template, save the changes and go to the corresponding orders tab. There, you will be able to preview which variables have been included.
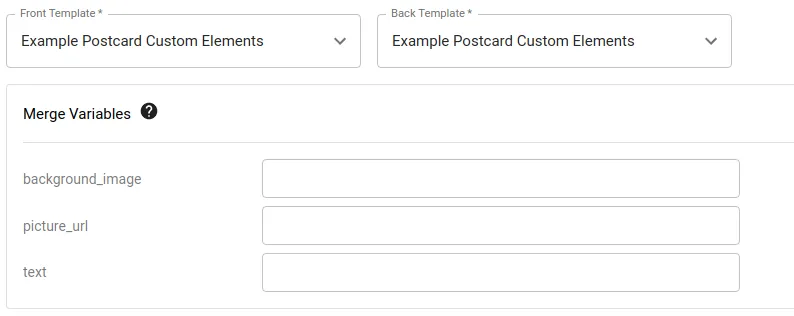
Another way to add a customizable image to the template is by clicking on ‘Merge Variables’ on the left side and selecting the Image element. After adding the element to the template, you can resize the image and change the merge variable name to your desired one.