Klaviyo
Send physical mail through PostGrid using Klaviyo Flows — covers flow setup, triggers, and webhook configuration.
Sending Mailings with Klaviyo
Section titled “Sending Mailings with Klaviyo”When your business requires sending mail in an effective in scalable manner, PostGrid has your solution. In this guide, we will examine how to send Print & Mail using Klaviyo’s Flows feature. In particular, this guide will demonstrate how to send a test letter using Klaviyo.
Overview
Section titled “Overview”There are four stages in the process of sending mail with PostGrid
- Creating a Flow
- Creating a Trigger for the Flow
- Adding an Action for the Flow
- Filling in the Required Fields
Klaviyo Setup
Section titled “Klaviyo Setup”After entering the Klaviyo dashboard, you’ll need to enable multifactor authentication in order to proceed. Refer to the Multifactor Authentication instructions under the profile tab.
Creating a Flow
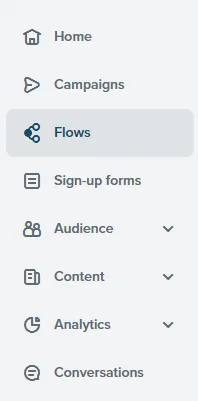
Section titled “Creating a Flow”Moving back to the Klaviyo dashboard, click the Flows button on the left
sidebar menu.
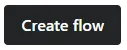
From here, click on the ‘Create flow` button, found on the top right corner of the page.
Next we will want to click on the Create From Scratch button, which is also
found on the top right corner of the page.
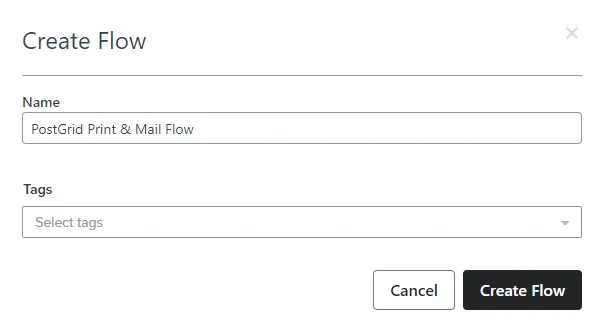
Finally, give the flow a name, and finish with the creation process by clicking the ‘Create flow’ button.
Creating a Trigger
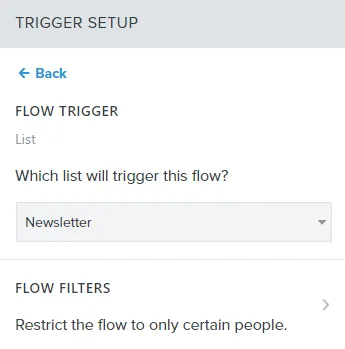
Section titled “Creating a Trigger”A trigger is an event that prompts the Flow to proceed with whatever action it is setup with. You will want to add an appropriate trigger to prompt the start of your desired PostGrid Print & Mail action.
For this guide, we will be using the Newsletter trigger, which activates whenever someone subscribes to a newsletter.
Confirm the trigger, by pressing the Done button on the bottom left-hand
corner.
Adding an Action
Section titled “Adding an Action”An action is an event that the flow will run after the trigger is set off.
Search for the Webhook action on the left-hand side panel, and drag it onto
the trigger on the center of the screen.
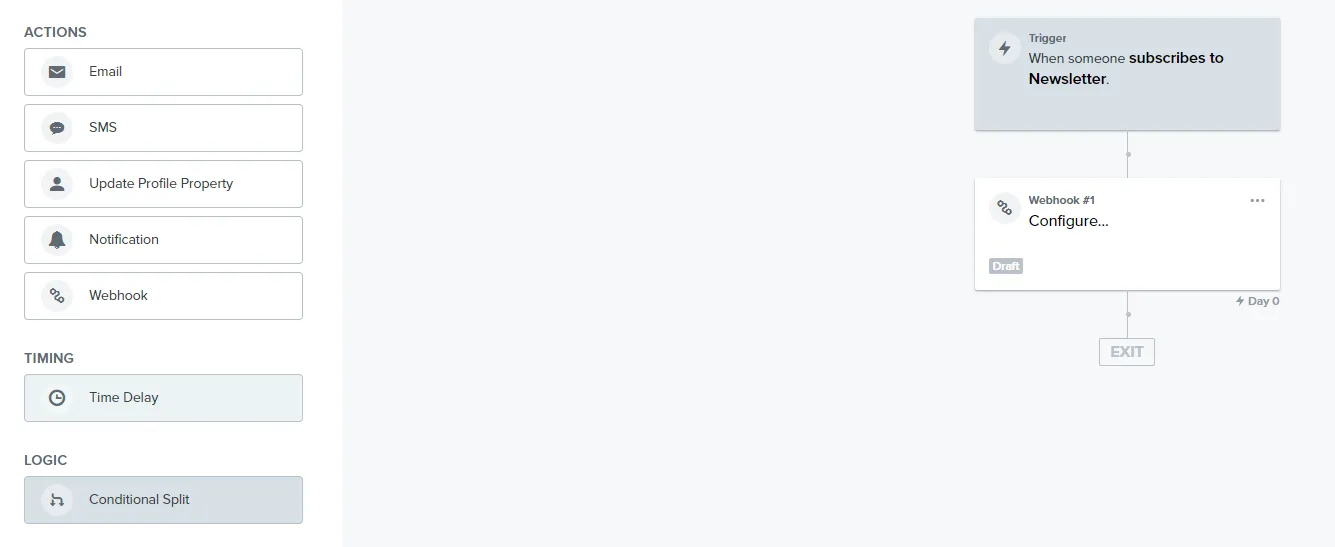
Filling in the Required Fields
Section titled “Filling in the Required Fields”In the configuration window of the webhook, we will need to fill in the URL, Headers, and JSON Body fields in order to call the correct PostGrid Print & Mail API endpoint.
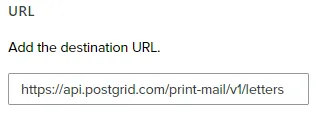
Filling in the URL
Section titled “Filling in the URL”The URL chosen here will depend on the desired action to be performed. Since this guide is for sending letters, we will use the Letters endpoint from the PostGrid Print & Mail API, which is:
https://api.postgrid.com/print-mail/v1/letters
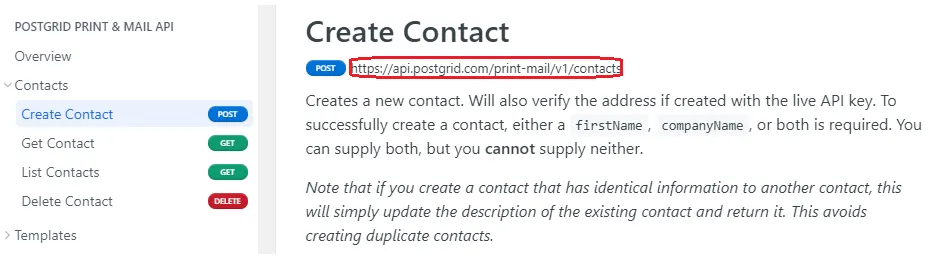
You can find the corresponding URL for other actions such as creating a contact, under our API Guide. To find the URL for the API endpoint simply navigate to the desired feature, and copy the URL found under the main header for that page.
However, due to certain limitations only API endpoints labelled, Post will be
valid.
Filling in the Headers
Section titled “Filling in the Headers”The only headers required for this guide will be a key, value pair labeled
x-api-key. This will be your API key provided PostGrid, which can be found
under Settings in the
PostGrid dashboard.
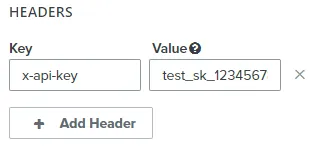
This is a unique key used by PostGrid to associate and authenticate a given
request with your account.
Note: Please be sure to enter the ‘Test API Key’ if you wish to test orders
and the ‘Live API Key’ only if you are sure about your order.
Filling in the JSON Body
Section titled “Filling in the JSON Body”JSON stands for JavaScript Object Notation. The JSON body data is what allows PostGrid’s Print & Mail services to know the specific details of the mail you are sending, such as the recipient, the sender, and even the contents of the mail itself. For the purposes of sending a letter, we will need to provide the required fields as defined in the Body Params of the letter section of the API guide.
Note: Instead of providing HTML for the letter, you can simply provide a
template_id for the desired template. Learn more about
creating templates.
Here is an example of the possible data you may want to fill in as the JSON body:
{ "to": { "firstName": "{{ person.first_name|default:'' }}", "lastName": "{{ person.last_name|default:'' }}", "addressLine1": "{{ person|lookup:'$address1'|default:'' }}", "city": "{{ person.City|default:'' }}", "postalOrZip": "{{ person.Zipcode|default:'' }}", "countryCode": "US" }, "from": { "firstName": "Jane", "lastName": "Doe", "addressLine1": "20 Bay Street", "city": "Toronto", "provinceOrState": "ON", "postalOrZip": "M5J 2N8", "countryCode": "CA" }, "template": "template_3etohcSS7EiBxKNNKMwZFF"}Getting the contact information
Section titled “Getting the contact information”Instead of specifying the specific contact details, another option is to simply
provide a contact_id. As a result, the from field may instead look like.
"from":"contact_avPKdFJpXUxjFnnvccKzYR",
You have have also noticed that the to contact may use some rather
unconventional notation. The to contact uses some Klaviyo profile properties.
You can learn more from the
Klaviyo profile properties reference.
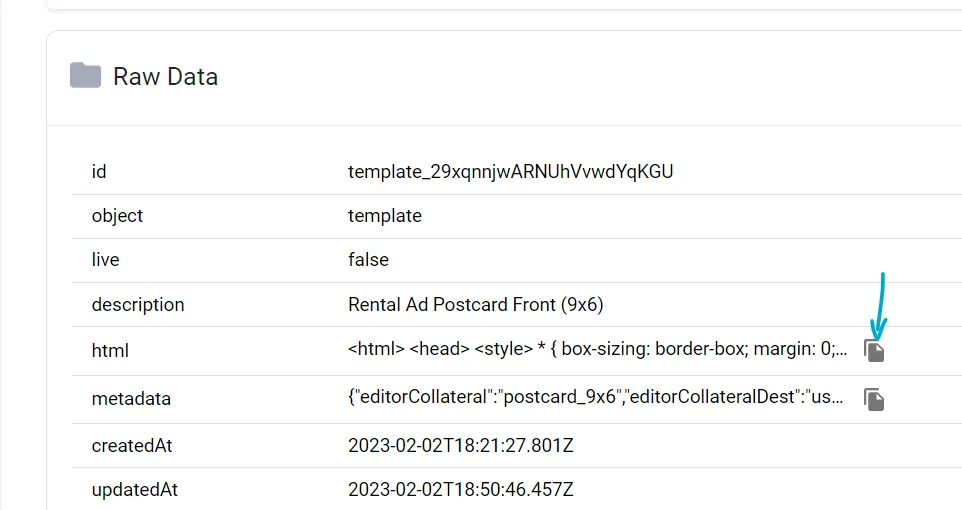
Getting the HTML and Template
Section titled “Getting the HTML and Template”If you’ve created your template using HTML, you can use that directly in the
html field and replace the template field. If you’ve used our template
editor to create your template, you can copy its HTML for use on Klaviyo via the
Raw Data section:
Wrapping Up
Section titled “Wrapping Up”To test the flow, simply click on the Preview button.
Then on the Send Test Request button.
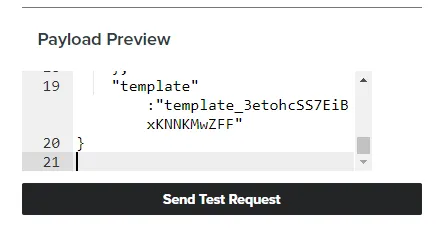
If the flow is setup correctly, you will notice a notification that the request has been sent correctly. You should also notice that a letter has been created on your dashboard with the same details that you have provided in the JSON body.

After setting everything up correctly, you can set the flow to be live. Now you can access your desired PostGrid Print & Mail service through Klaviyo!