Automate Address Verification using Salesforce FLOWS
How to build a Salesforce Flow that automatically triggers PostGrid address verification when custom object records are created or updated.
If you need to verify addresses in custom objects beyond Accounts, Contacts, and Leads, or want to create a workflow to automate address verification, follow these steps using Salesforce Flows.
1. Creating a Flow
Section titled “1. Creating a Flow”Navigate to Setup by clicking the Setup icon on the main Salesforce screen.

In the Quick Find bar, type Flow and select Flows.
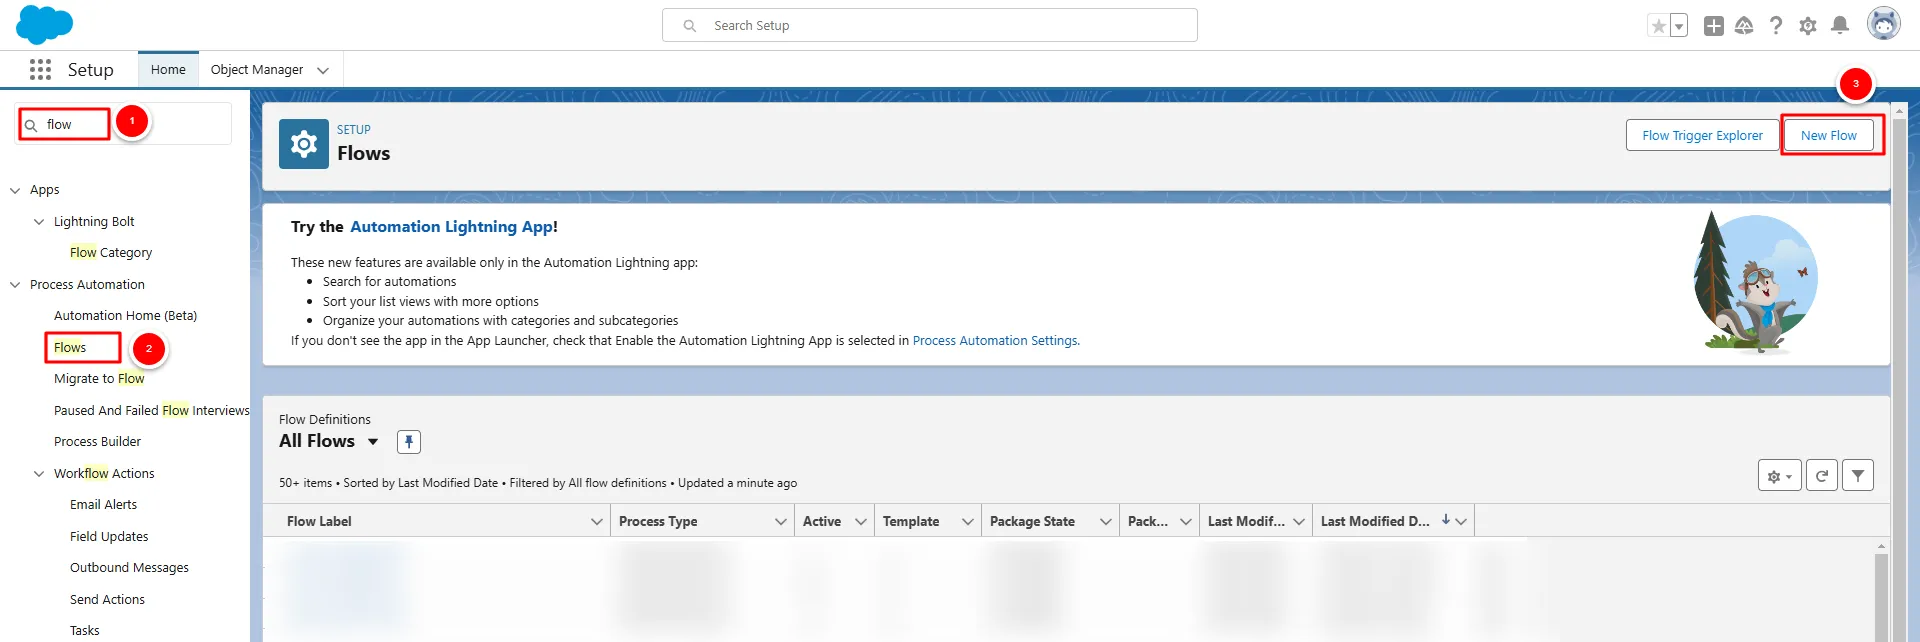
Click New Flow to create a flow from scratch, or choose an available template that fits your needs.
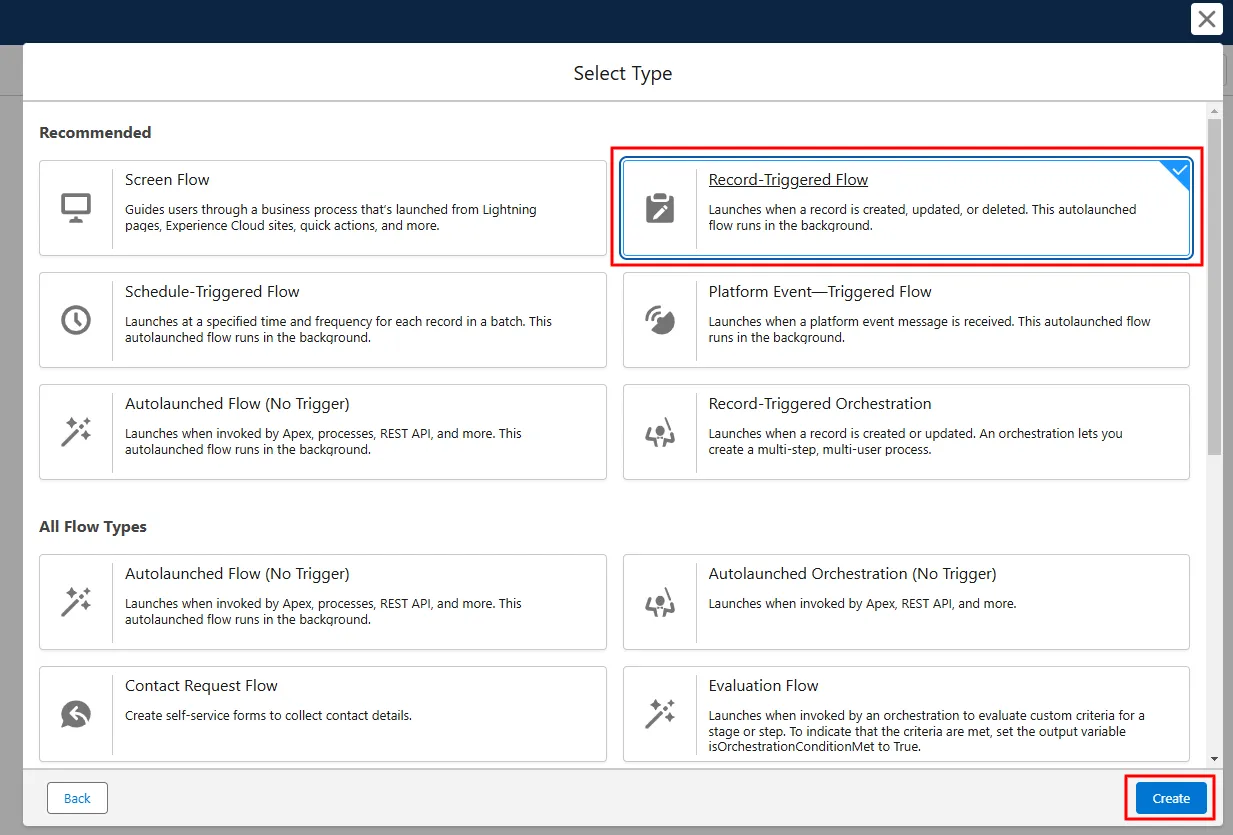
Now you need to configure your Flow.
For example, you can define that each time a custom object is created or updated, the flow gets triggered, and the address verification is initiated. Whatever your scenario is, you need to follow the setup for creating the starting point of the Flow. Once you are finished with the configuration, click on Done.
2. Setup the Address Verification
Section titled “2. Setup the Address Verification”Now you need to set up the Address Verification Workflow. Within the workflow, click the plus button to add a new element, and search for the Verify Address.
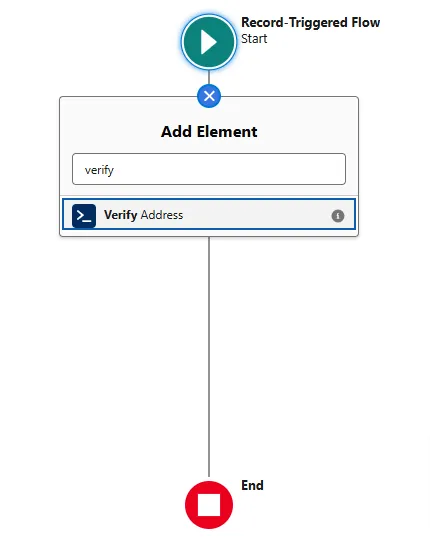
Add a Label Name and start configuring the input fields.
Set each address component including City, Country, Postal Code,
State, and Street as mandatory fields by toggling the Include option on
each and map the corresponding address fields from your custom object to each
input value.
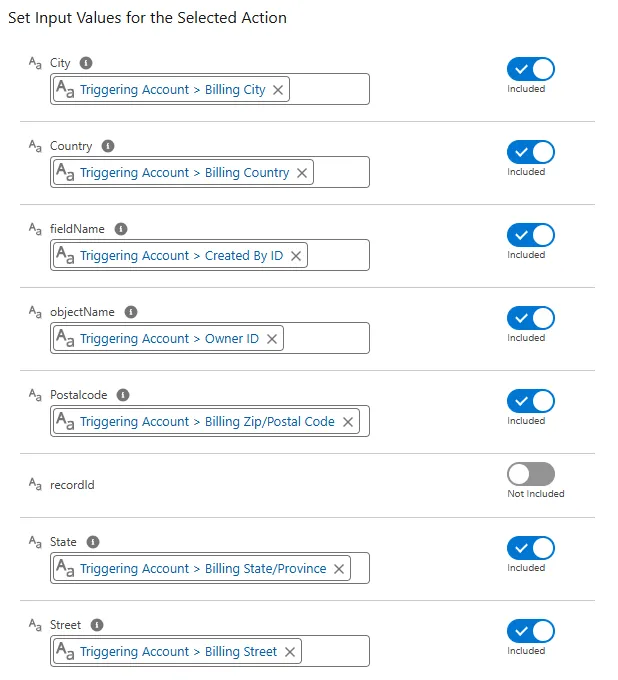
Click Done once the address verification setup is complete.
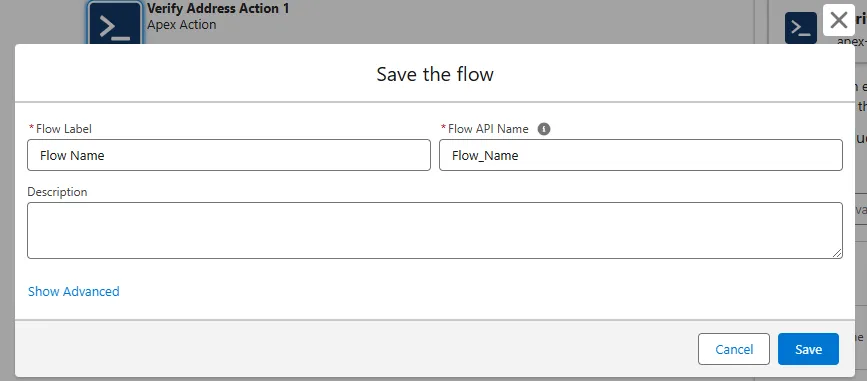
Click Save, name your Flow, and save it again.
3. Testing and Activating the Flow
Section titled “3. Testing and Activating the Flow”Debug the Flow
To test your Flow, click on Debug and follow the instructions to simulate the
process.
View the debug results in the Details panel on the right side of the screen to
ensure the Flow operates correctly.
Activate the Flow
Once you’re satisfied with the testing results, click Activate to enable the
workflow.
You’ll receive a confirmation message indicating successful activation.