Account Setup
How to sign up for PostGrid, access your API keys, and configure your account settings in the dashboard.
Signing up on the dashboard
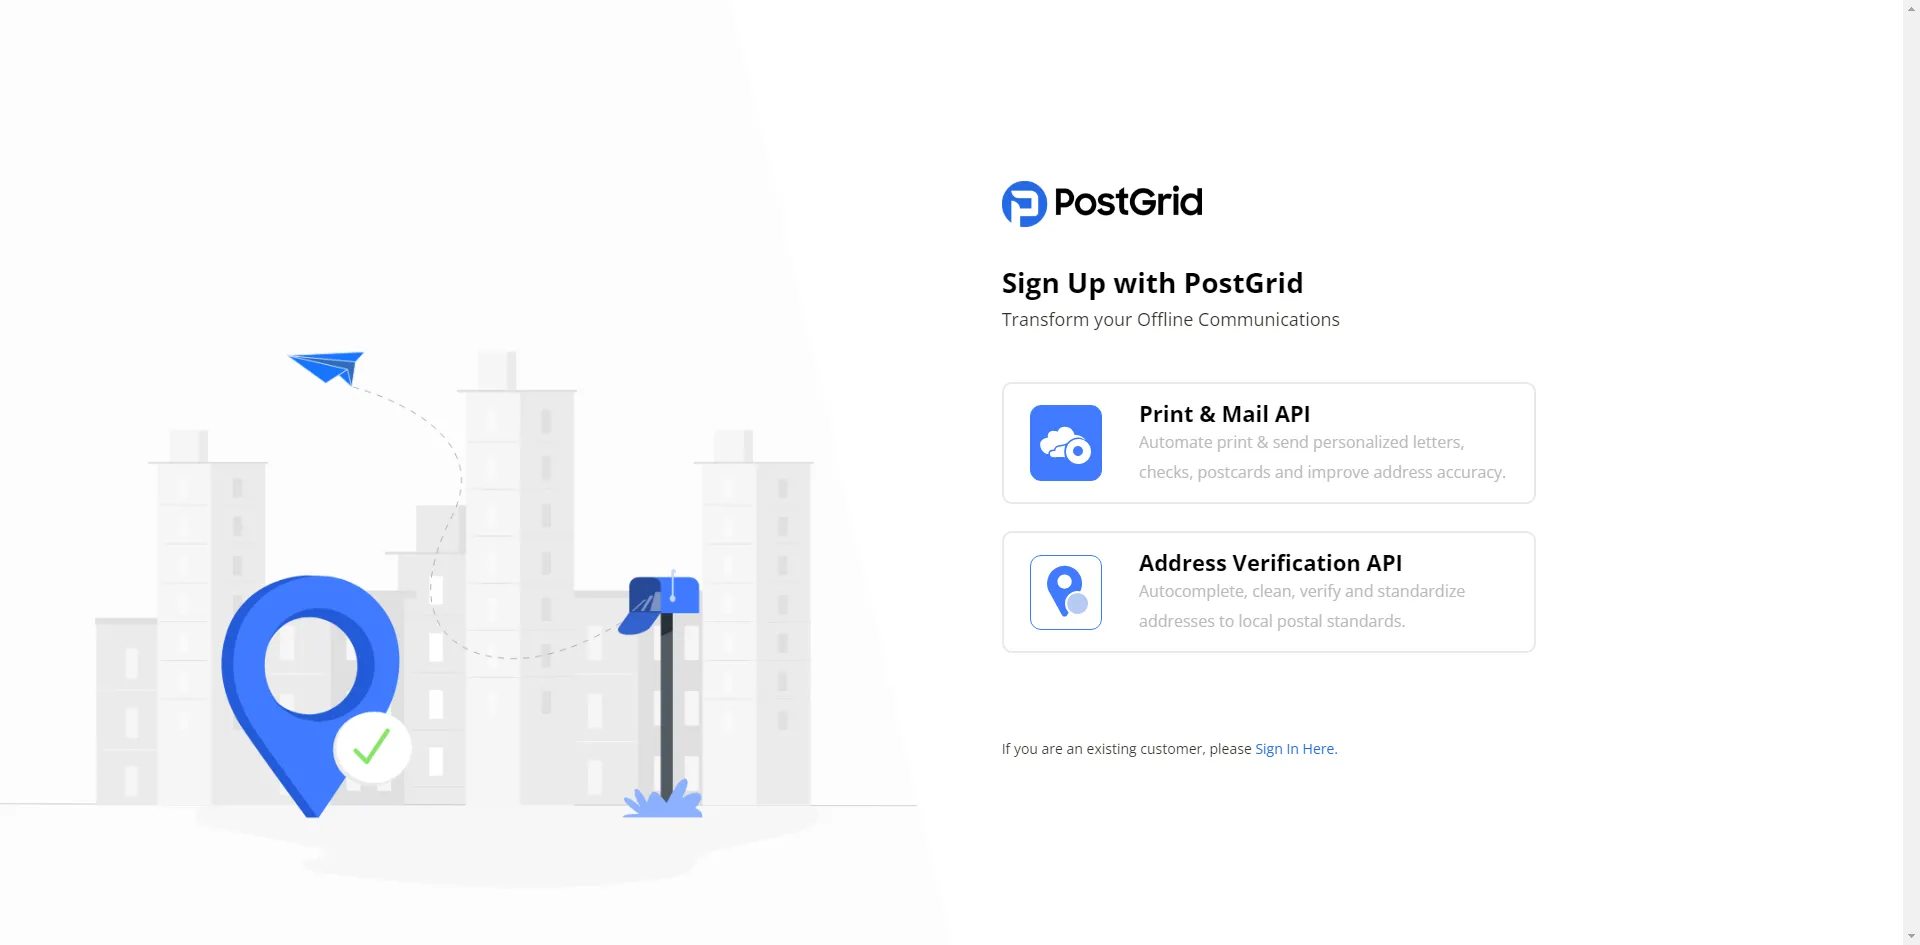
Section titled “Signing up on the dashboard”- Go to the PostGrid sign-up page
- Select the ‘Print & Mail API’ option
- Fill out the required information and click on ‘Sign Up’ button
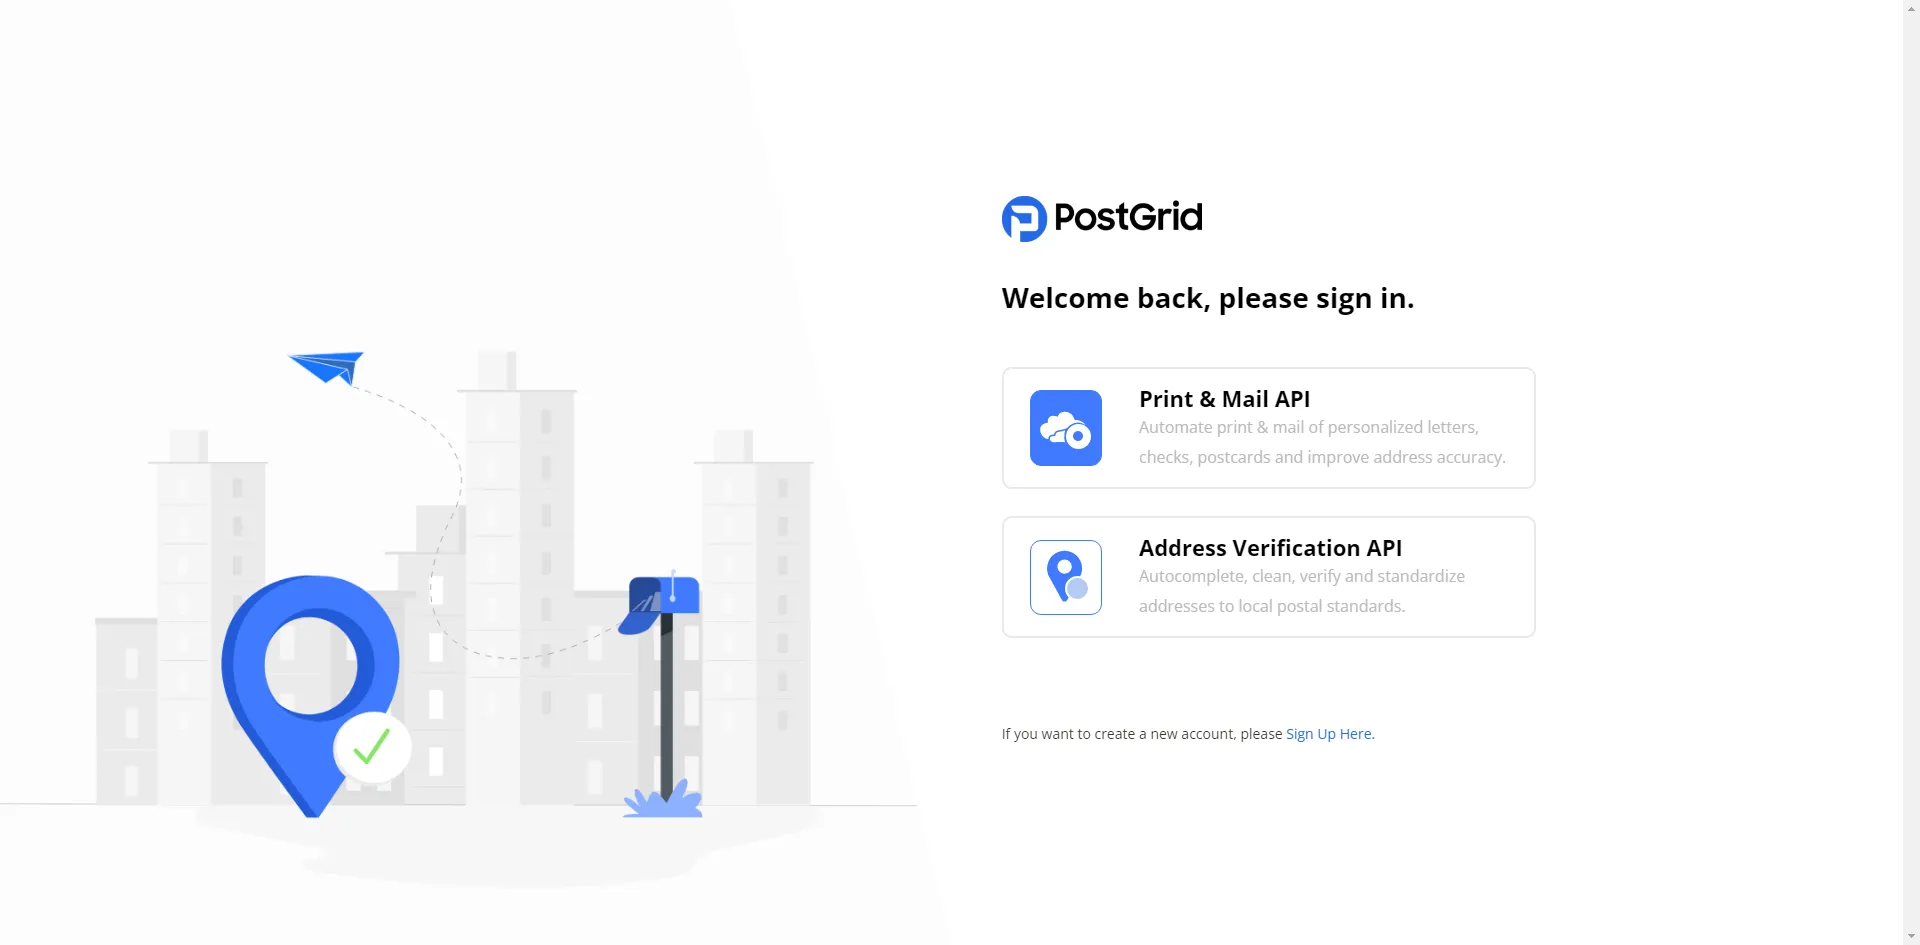
- Check your inbox for the email requesting to verify the account and complete the setup
- Once the setup is successfully completed, sign in to the dashboard
API Keys
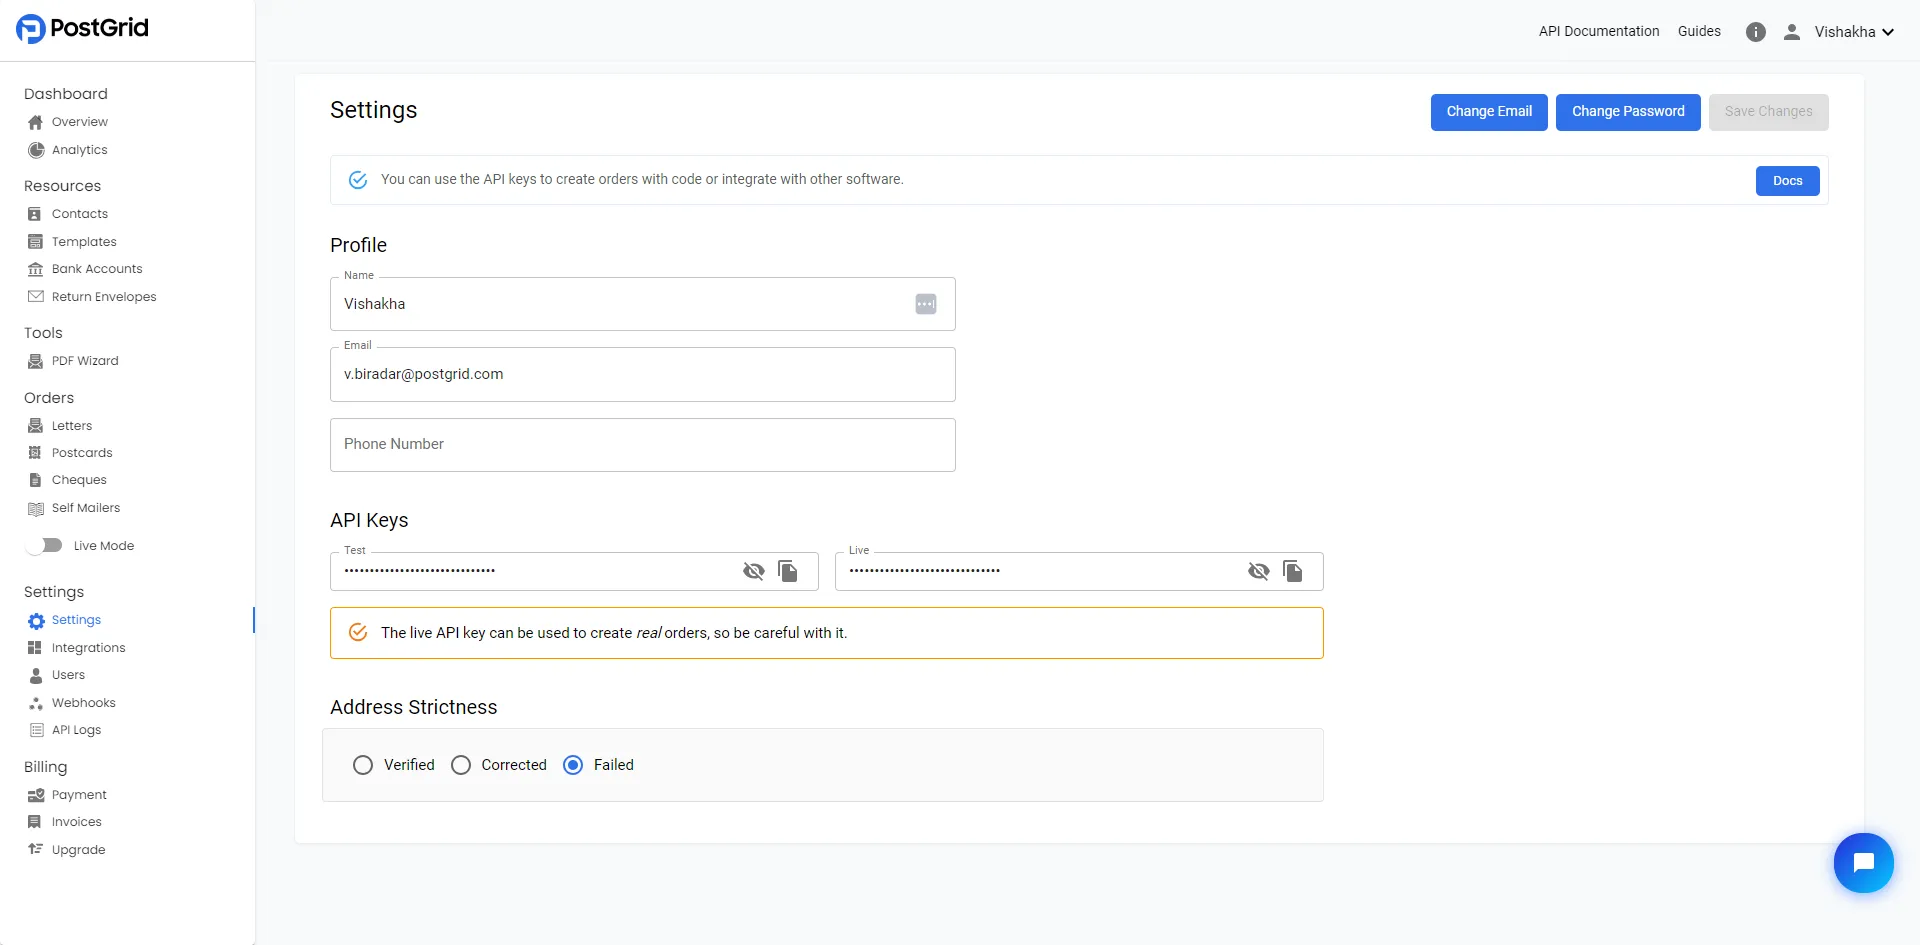
Section titled “API Keys”Each user in the organization will have access to two API keys: the test key and the live key. These keys are used to make API calls to the system. To access the API keys, go to the settings page available in the sidebar menu.
In test mode, the mailings are not sent out, but the process of creating orders is still completed. This allows you to ensure that variable data is assigned properly and when you preview the collateral, it adheres to postal standards and looks exactly as it should. When using the test key, all API calls are executed in a separate sandbox environment. This means that any actions or data stored in test mode will not transfer (except templates) or affect the live environment., and vice versa.
When you are ready to actually send out the mailings, you can switch to live mode and repeat the sending process with everything set up as before.
To swap in and out of live mode, you may toggle the switch found on the left side and pictured below.
When the switch appears gray as it does in the image, you know that you are in test mode and are free to use the dashboard without worrying about sending actual mail.
Setting-up a payment method
Section titled “Setting-up a payment method”In order to access the LIVE mode, you need to attach a payment method to your account. Please note that you will not be charged when setting up the payment method.
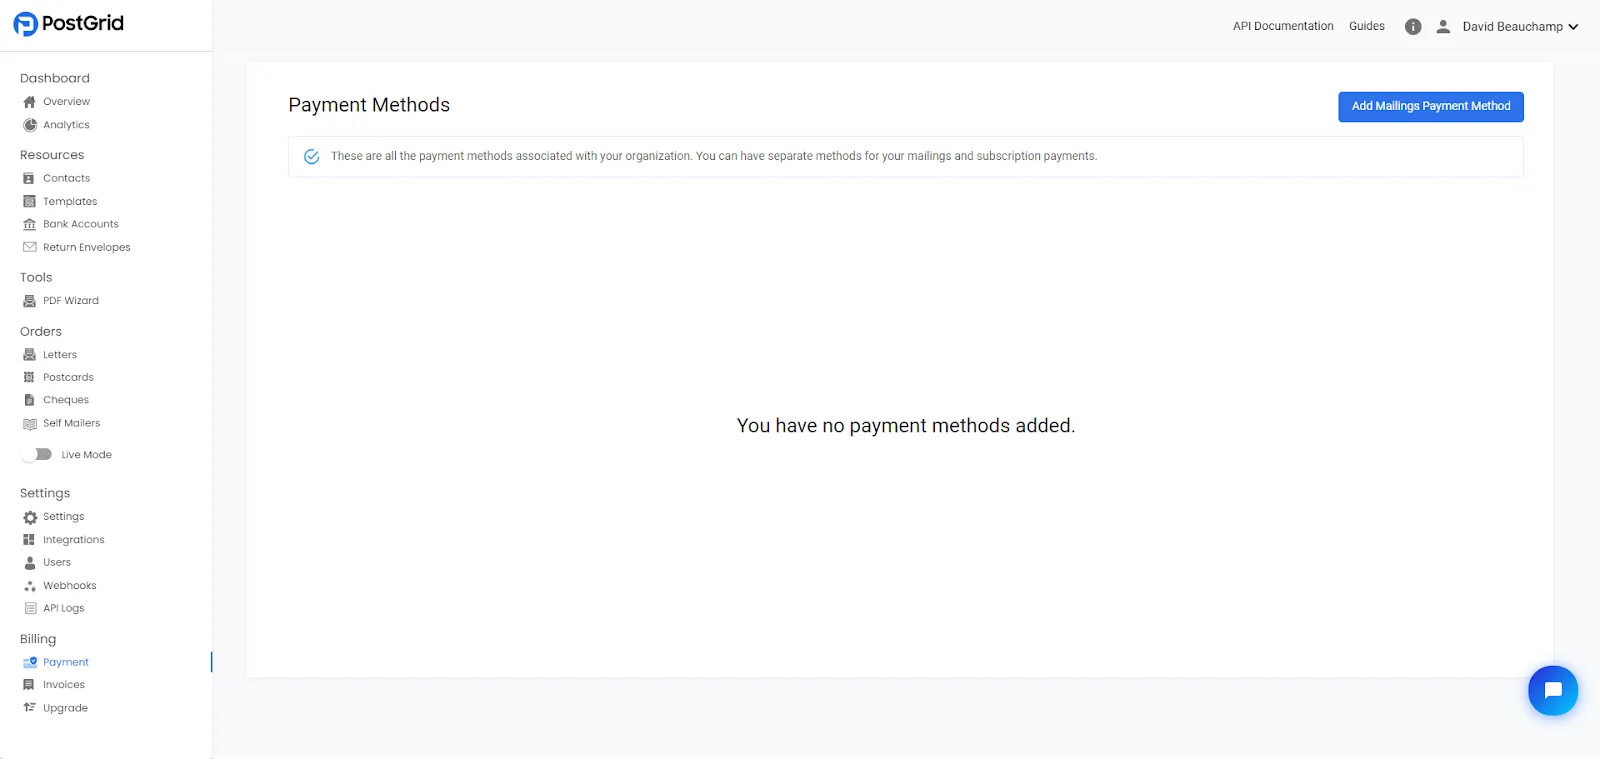
You can either add a card as a payment method or a US bank account if available.
If you are paying through ACH, please inform our customer success team at [email protected], and we will enable the LIVE mode for your account.
Additional Set-up
Section titled “Additional Set-up”Inviting New Users
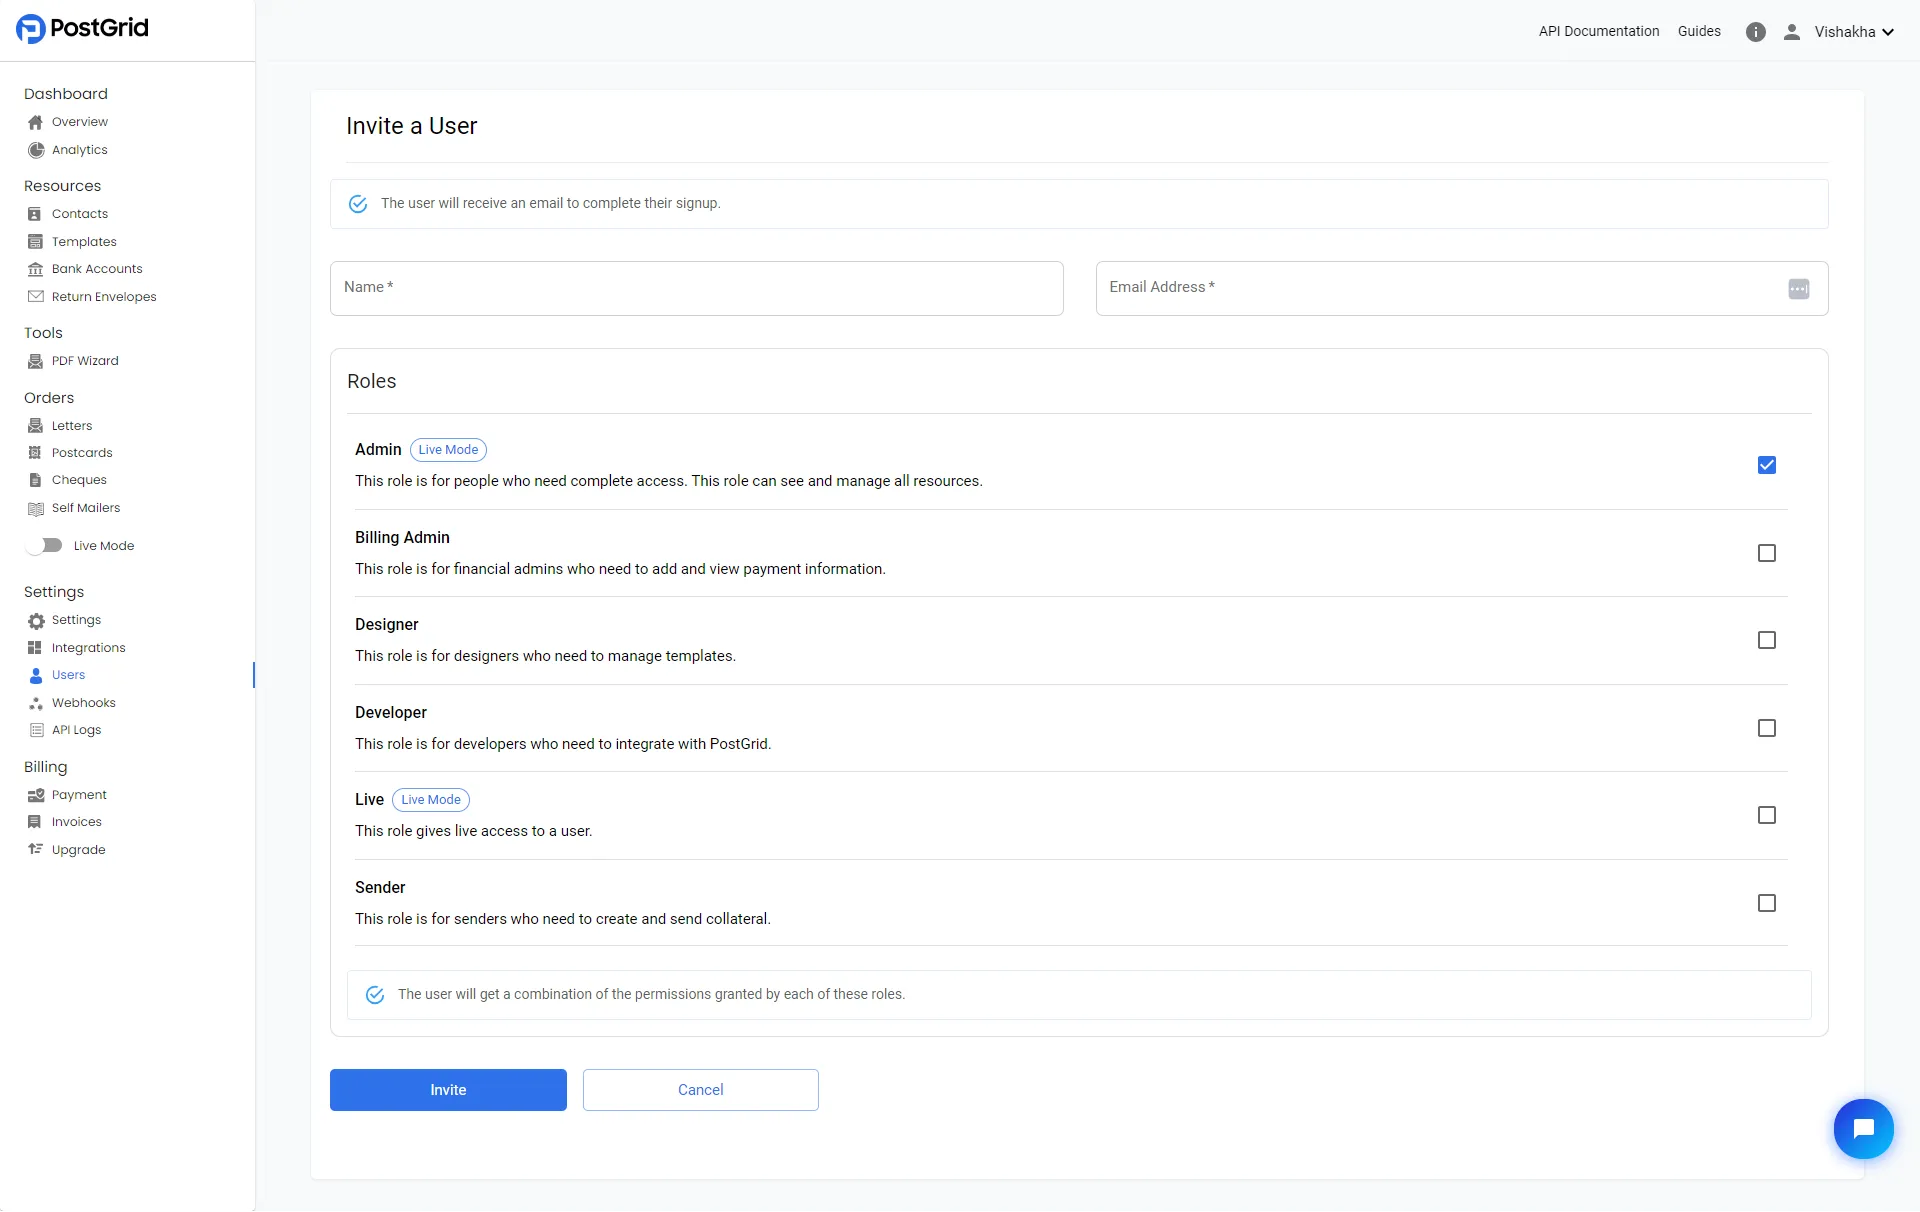
Section titled “Inviting New Users”To add multiple team members to your PostGrid account, use the ‘Invite User’ button on the Users page under Settings.
It’s important to note that all users on the account will share the same API keys and payment method.
Please keep in mind that this feature is only available for subscribed clients and can be enabled upon request.
User Roles and Permissions
Section titled “User Roles and Permissions”There are 6 types of user permission levels that can be applied to any PostGrid account user:
- Admin: This role is for individuals who require full access. Admins can view and manage all resources.
- Billing Admin: This role is for financial admins who need to add and view payment information. They will have access only to the Billing section on the Dashboard.
- Designer: This role is for designers who need to create and manage templates. They will only have access to the Templates page under the Resources section.
- Developer: This role is for developers who need to integrate with PostGrid. They will have access to all sections on the dashboard, except for Billing.
- Live: This role gives live access to a user. This is not a stand-alone user permission. You must select another role in addition to granting live access.
- Sender: This role is for senders who need to create and send collateral. Similar to the developer role, they will have access to all sections on the dashboard, except for Billing.
- Cheque Sender: This role is for users who need to create and cancel cheques. They will only have access to the Cheques page under the Orders section.
- View Only: This is a modifier role that must be selected with another role (e.g., Designer + View Only). It restricts the selected role to view-only access for the resources they can normally access. This is not a stand-alone user permission. You must select another role in addition to granting view-only access.
Deleting an Existing User
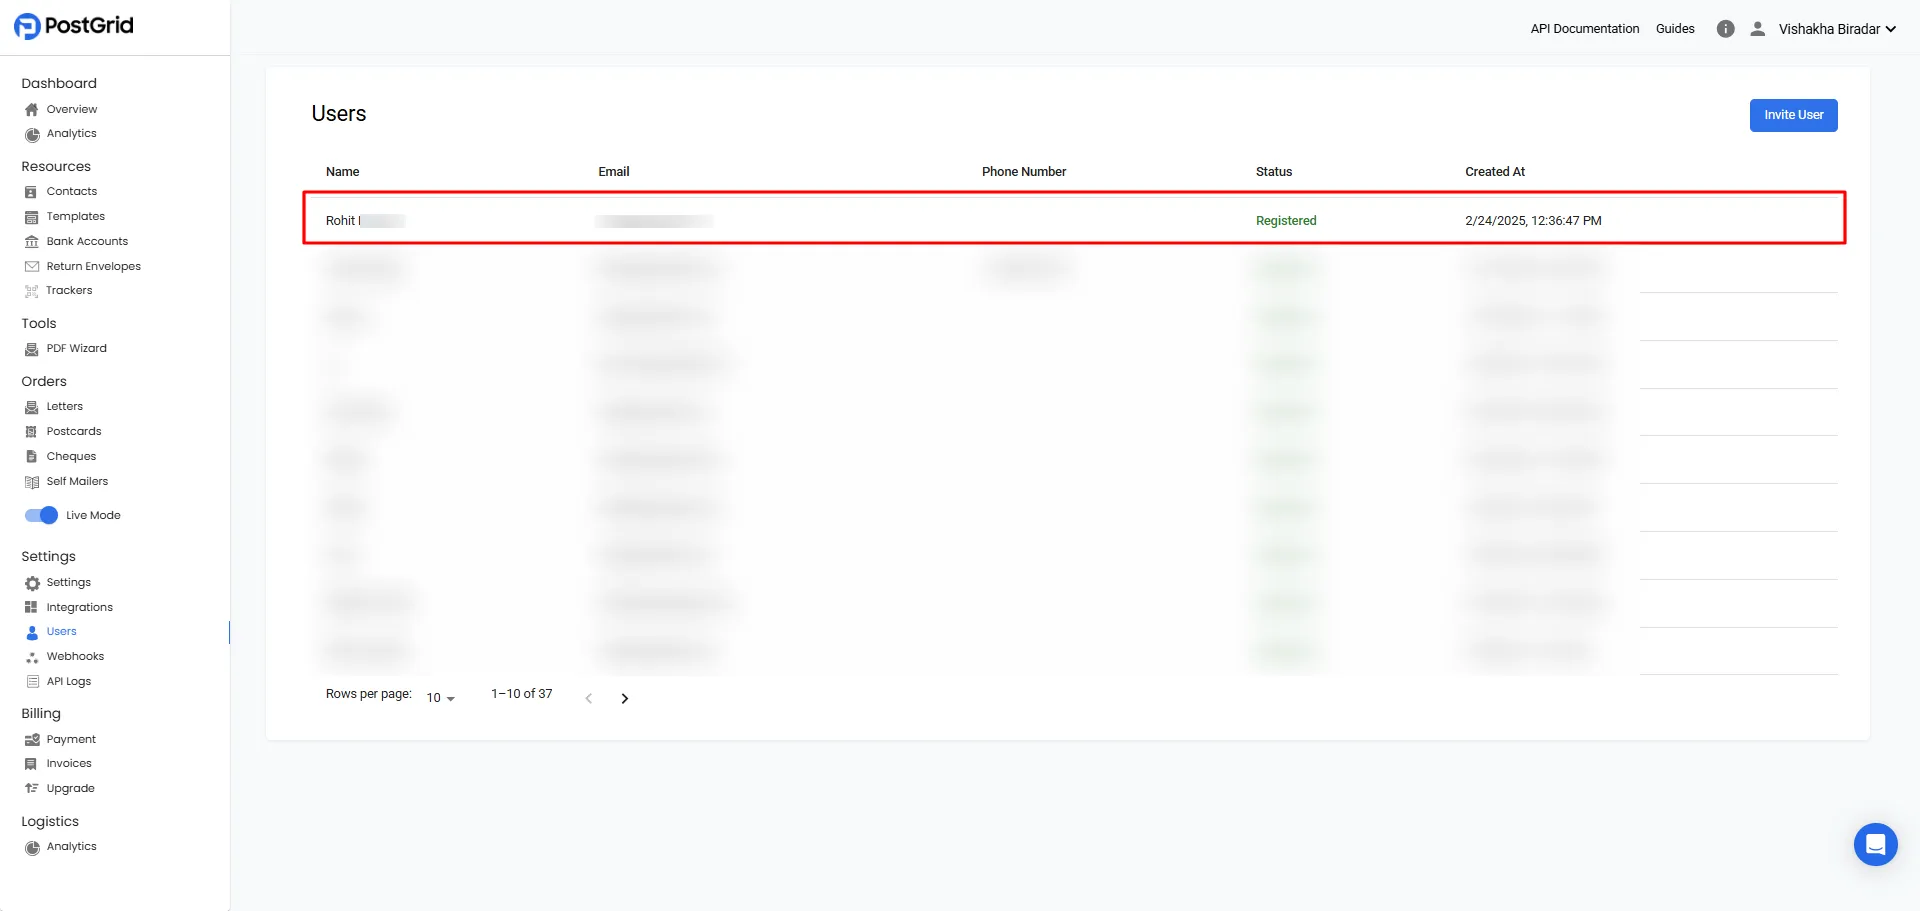
Section titled “Deleting an Existing User”To delete an existing user from the dashboard:
- Go to the Users section on the dashboard
- Select the user you want to delete
- Click the Delete User button and click on Delete when the pop-up appears.
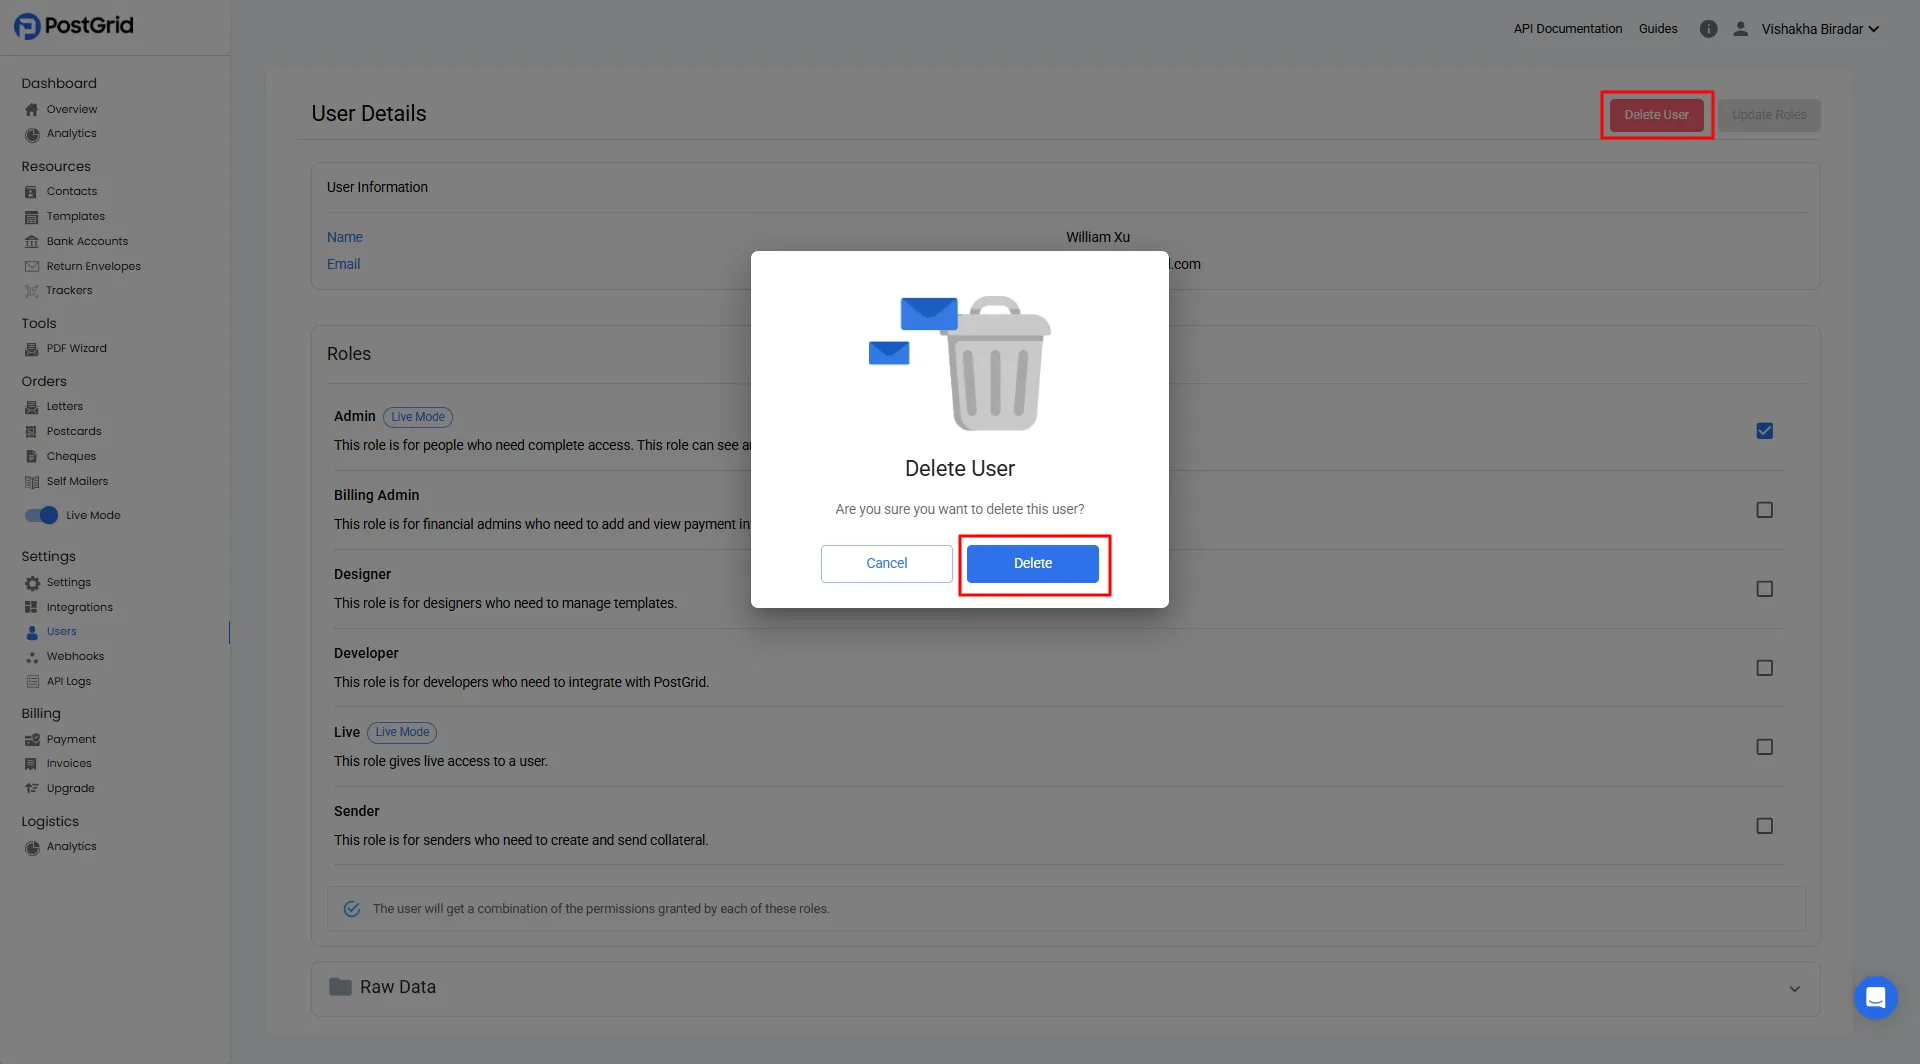
❗️ Please note: When you remove a user, their account is permanently deleted and they lose access to all their data.
Changing Email Address
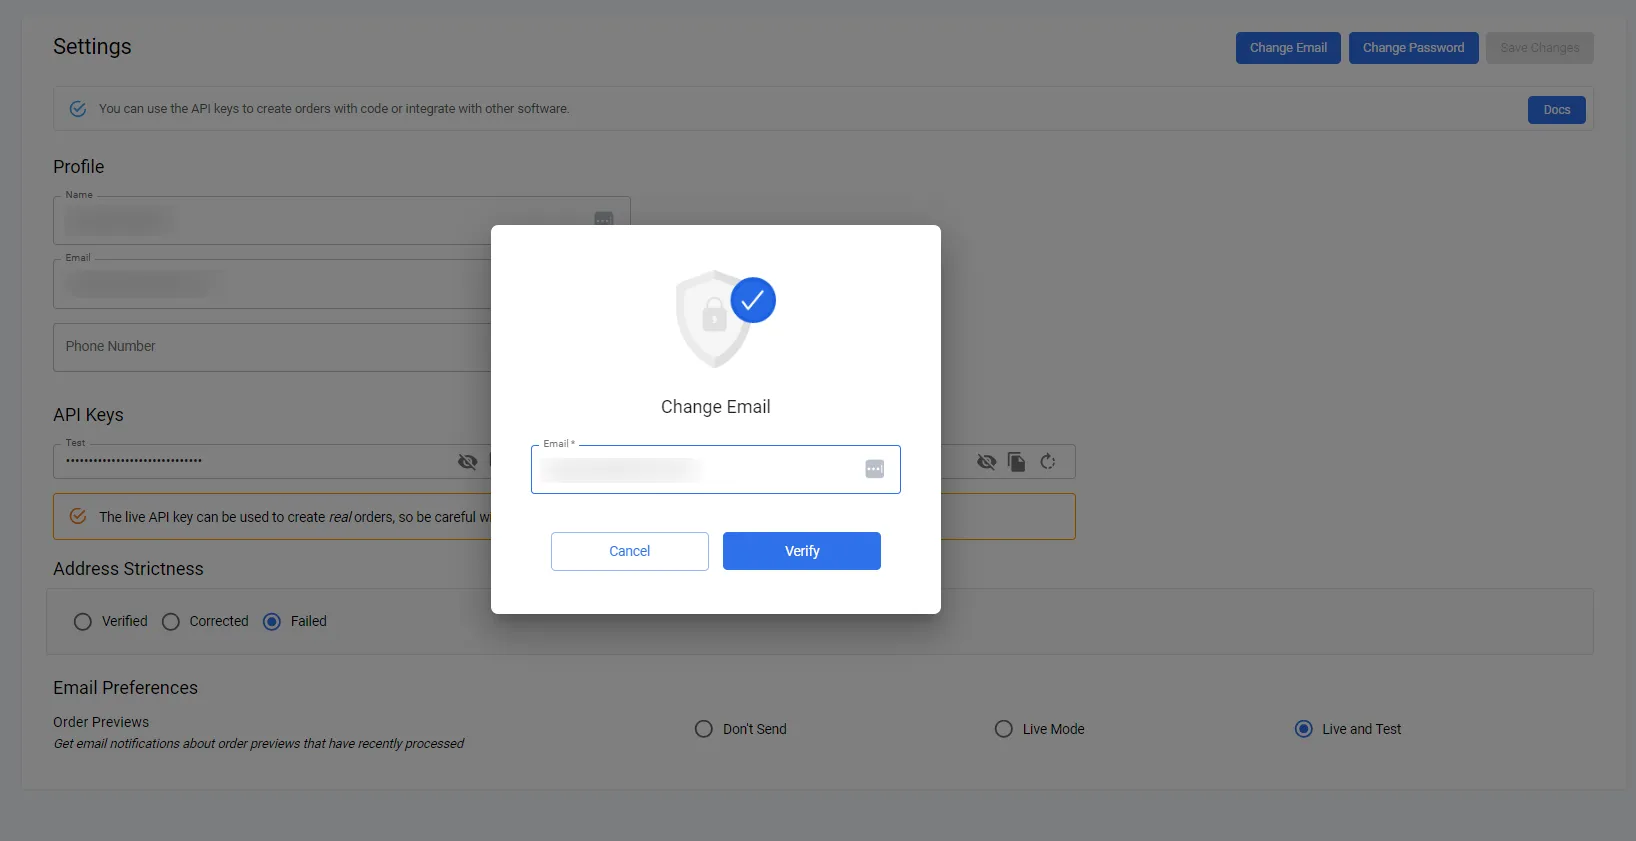
Section titled “Changing Email Address”- To change your email address, click on “Settings” and then “Change Email.”
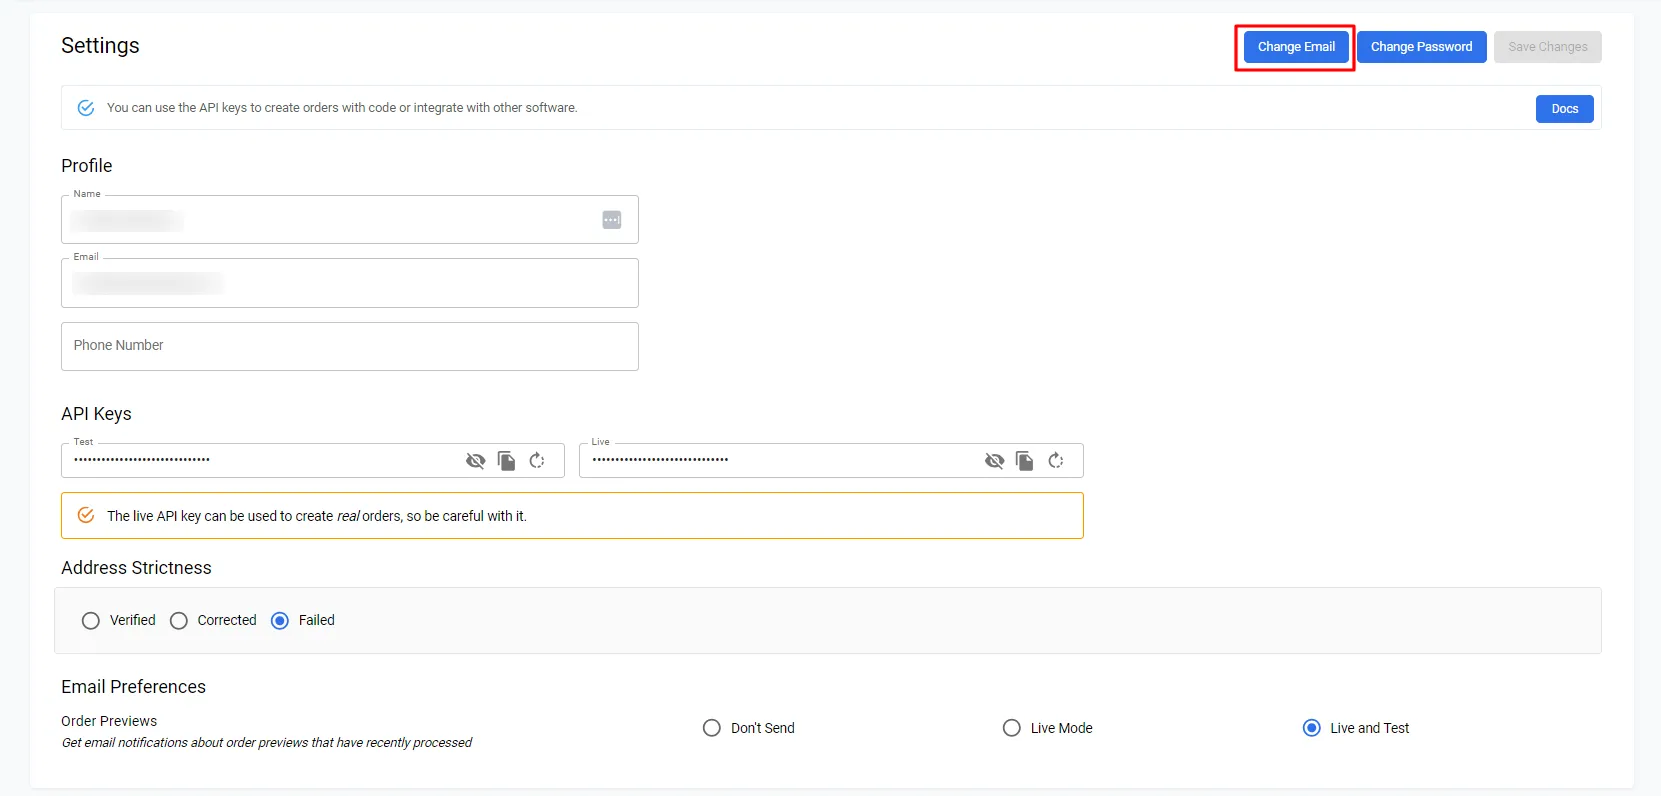
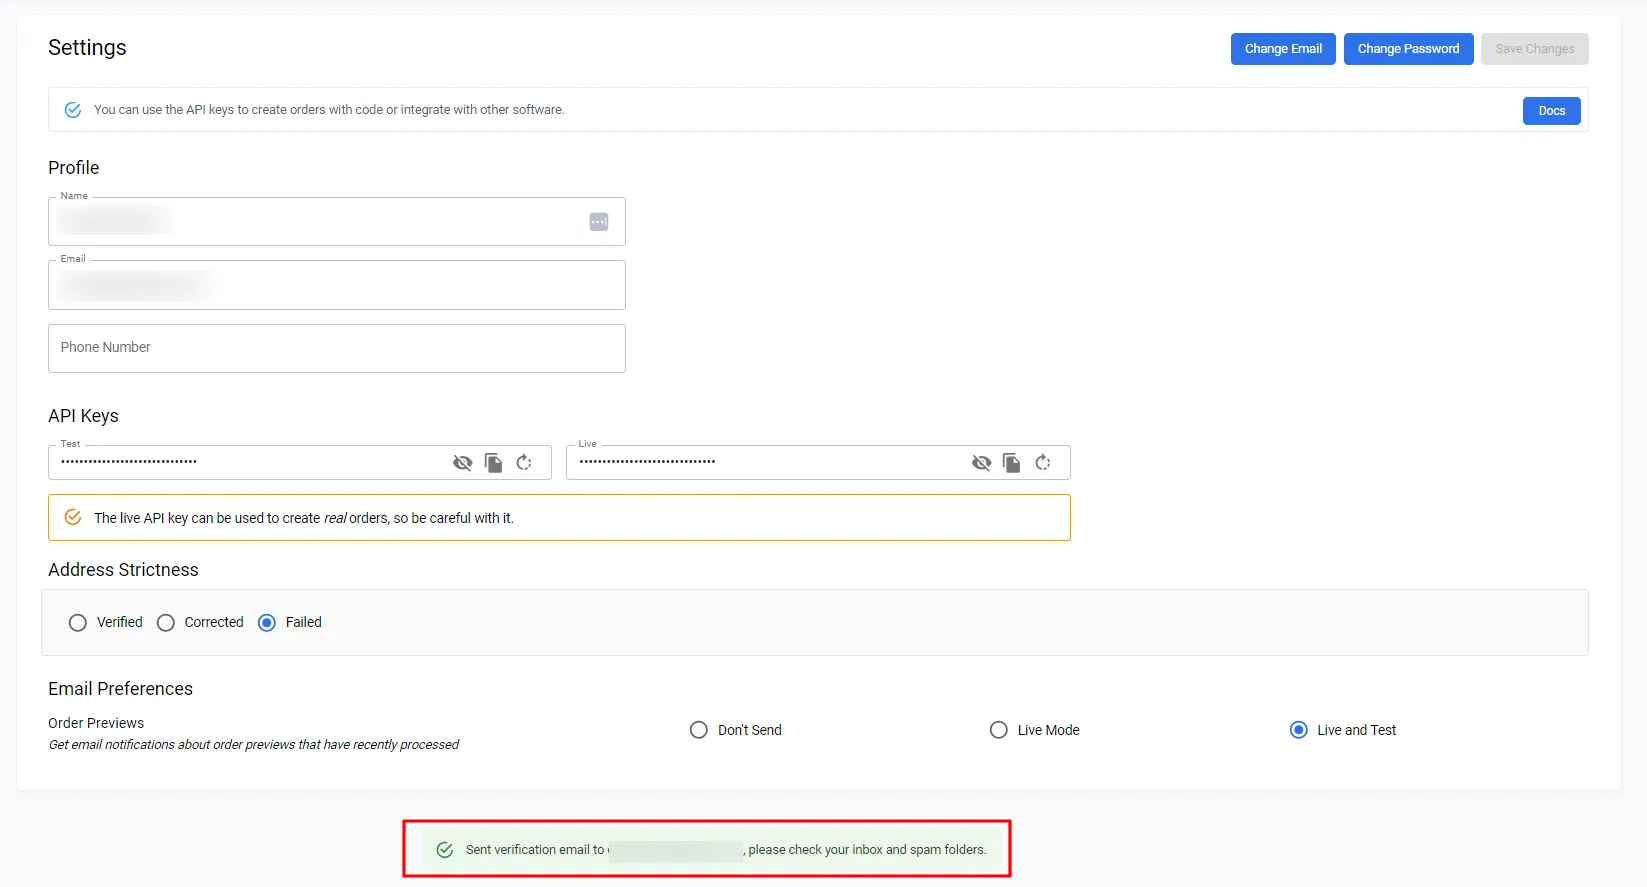
- Next, enter the new email address and click “Verify.”
- You’ll receive an email in your inbox. Click “Activate your profile” to confirm the email address change.
Closing or Deleting your account
Section titled “Closing or Deleting your account”To close or delete your account, please contact us at [email protected]. Include your email address and the name on your profile (found in the “Settings” section of your dashboard). We’ll process account deletions only after all outstanding invoices are paid and there’s no unbilled usage for the current billing period.
If you prefer, you can downgrade your plan by contacting our customer success team at [email protected]. This option allows you to return to PostGrid in the future without incurring platform fees. Note that downgrading is only available for accounts with a paid subscription.