Setting up the Collateral
Create mail templates in the Salesforce PostGrid app using HTML or PDF uploads, with support for QR codes and design guidelines.
The application offers the flexibility to create a template in HTML format or upload your own PDF.
Creating an HTML Template
Section titled “Creating an HTML Template”1. Click on “PostGrid Templates” and then click on “New”
Section titled “1. Click on “PostGrid Templates” and then click on “New””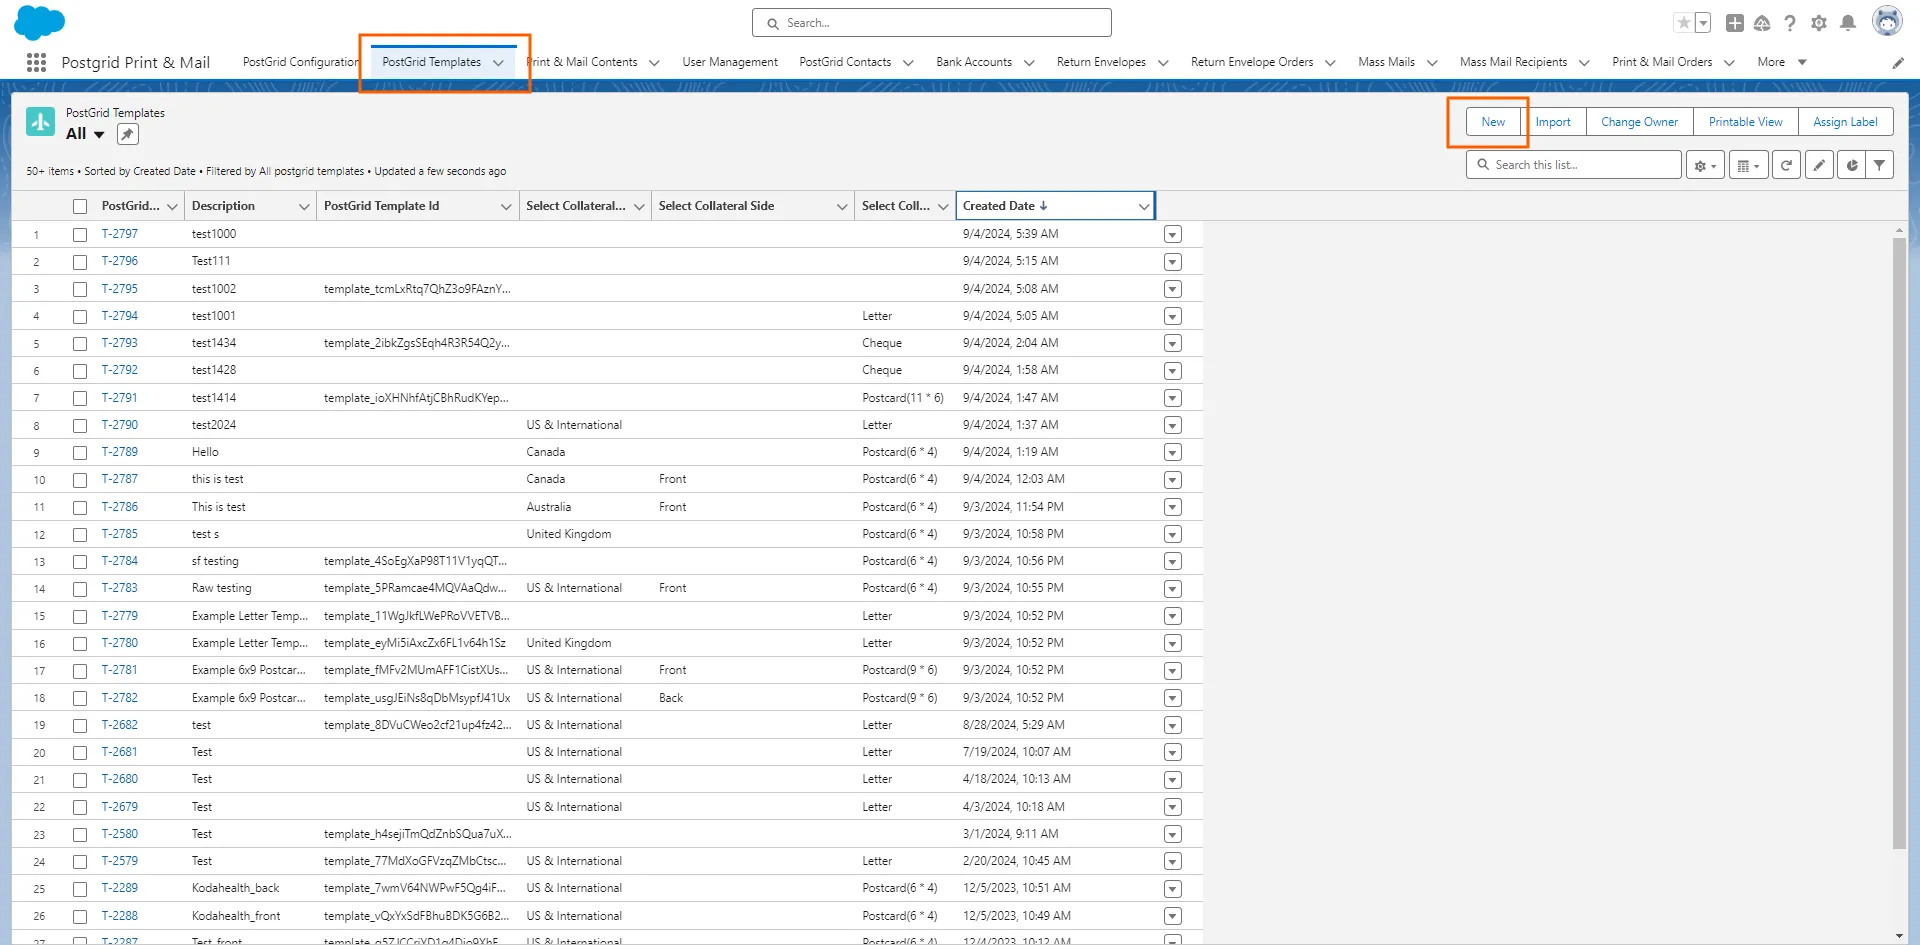
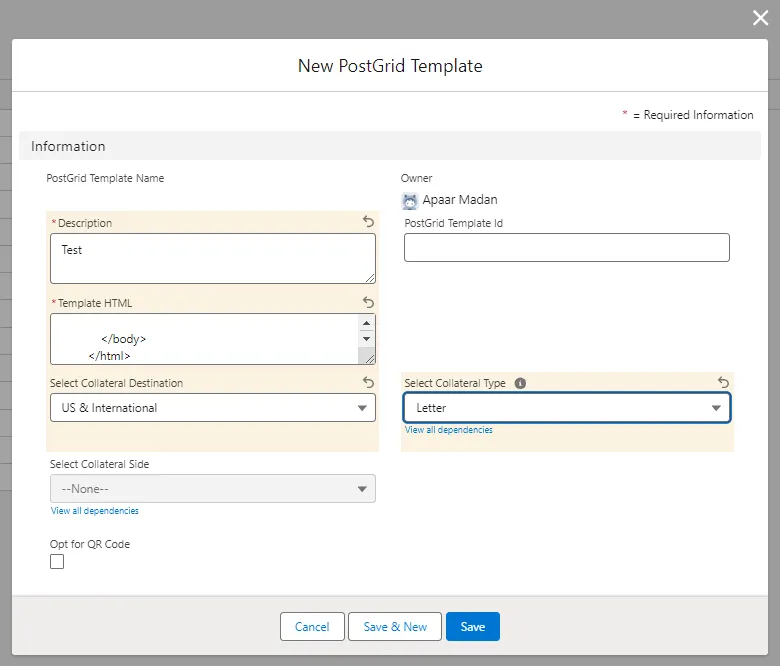
2. Add the required information to create the Template
Section titled “2. Add the required information to create the Template”- Add a description for your template
- Add the HTML code for your template*(Before creating the HTML for your collateral, please check our design guidelines to avoid any order cancellations.)*
- Select a country for the Collateral Destination (Selecting a collateral destination will configure the final collateral based on the mailing requirements for that country.)
- Select a Collateral Type
- Check Opt for QR Code to add QR code to your mailings
- Click on “Save”
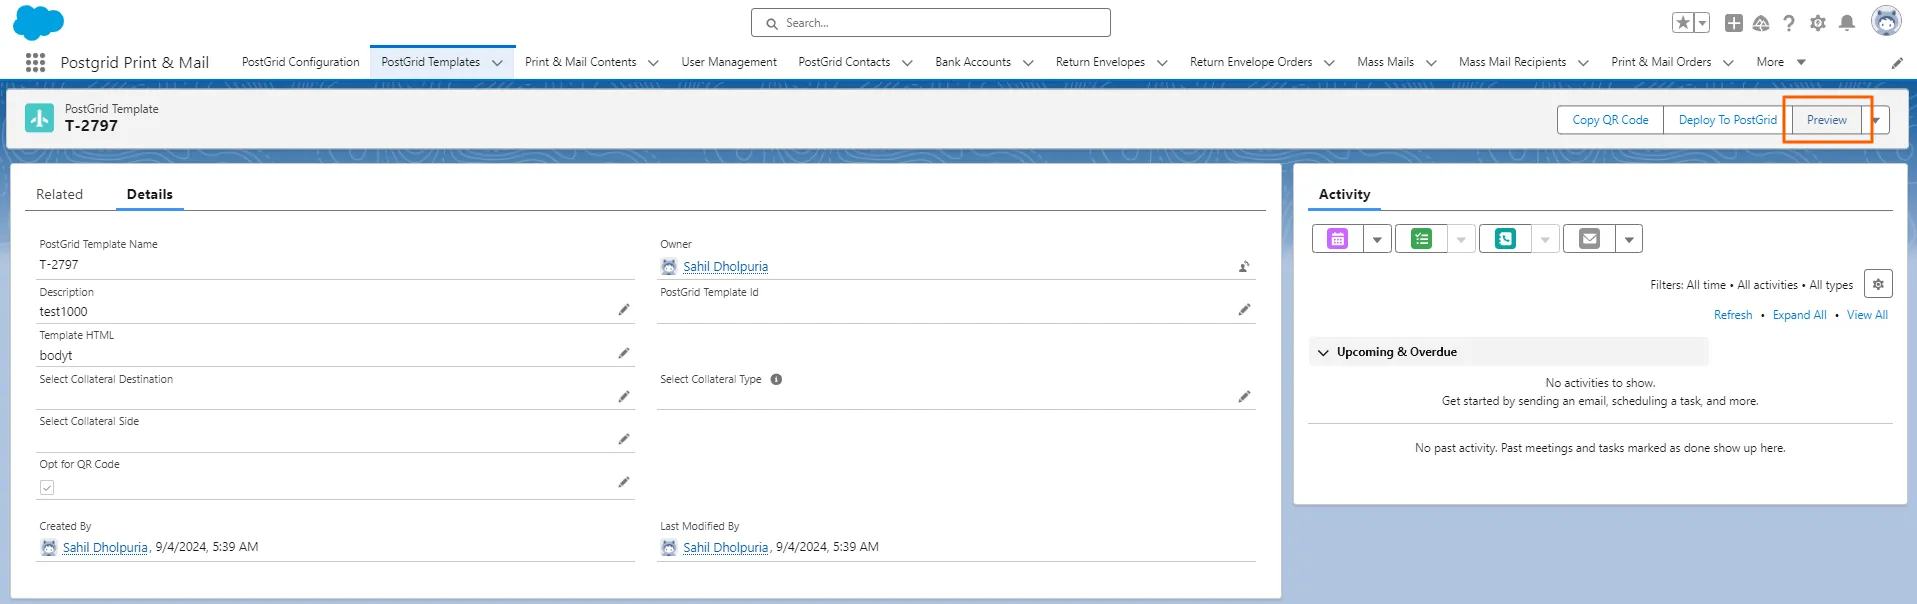
3. Previewing the Template
Section titled “3. Previewing the Template”To preview the template, click on it and then select the “Preview” button. Check the preview to ensure that everything looks good. (Make sure to keep empty space for address regions based on the design guidelines for a particular collateral to be mailed to a specific destination)
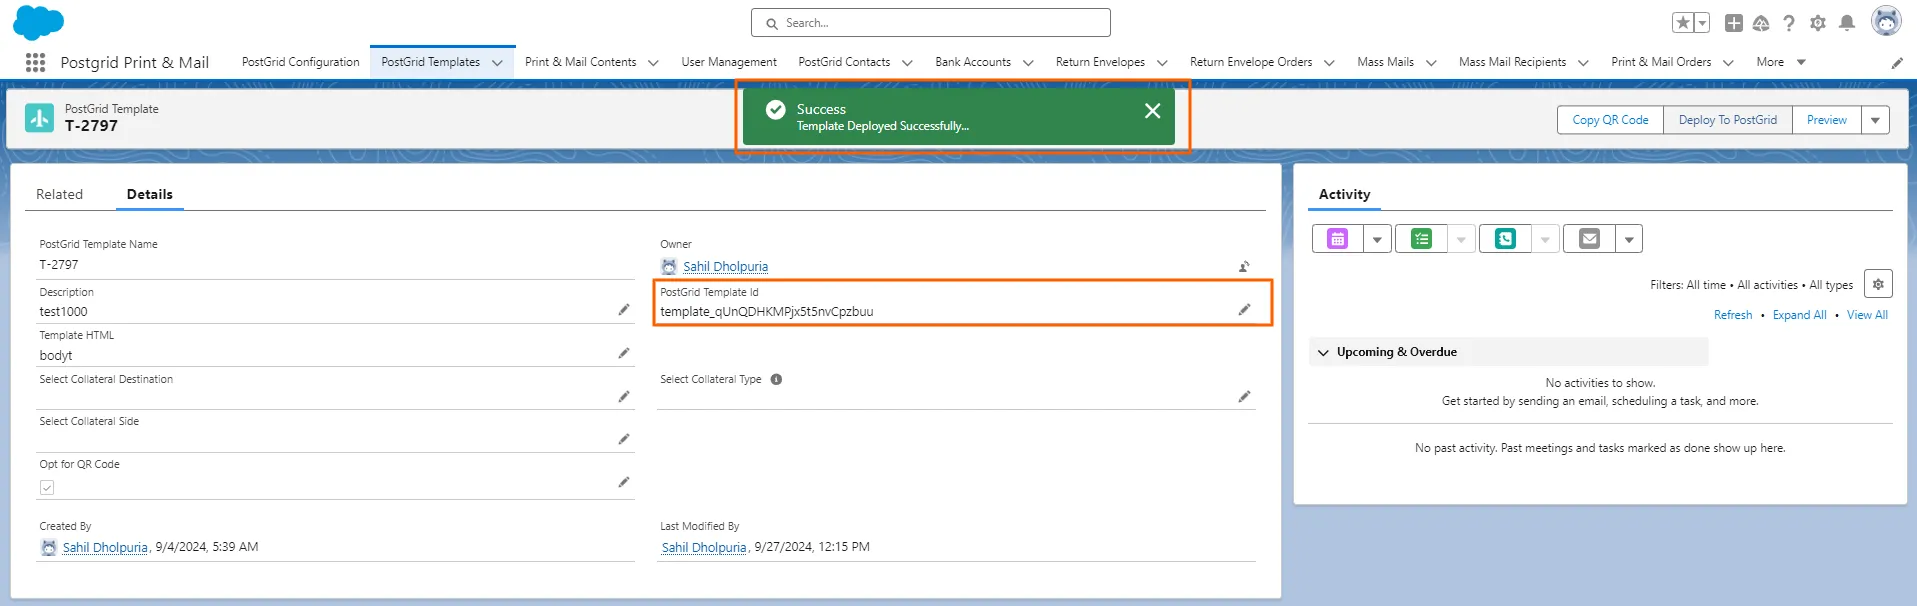
Click on Deploy To PostGrid to see this template on the dashboard. This step is crucial, as you will only be able to create orders successfully through Salesforce when the template is available on the dashboard.
When your template is successfully deployed, it will be assigned a PostGrid Template ID. This ID should match the template ID available on the dashboard.
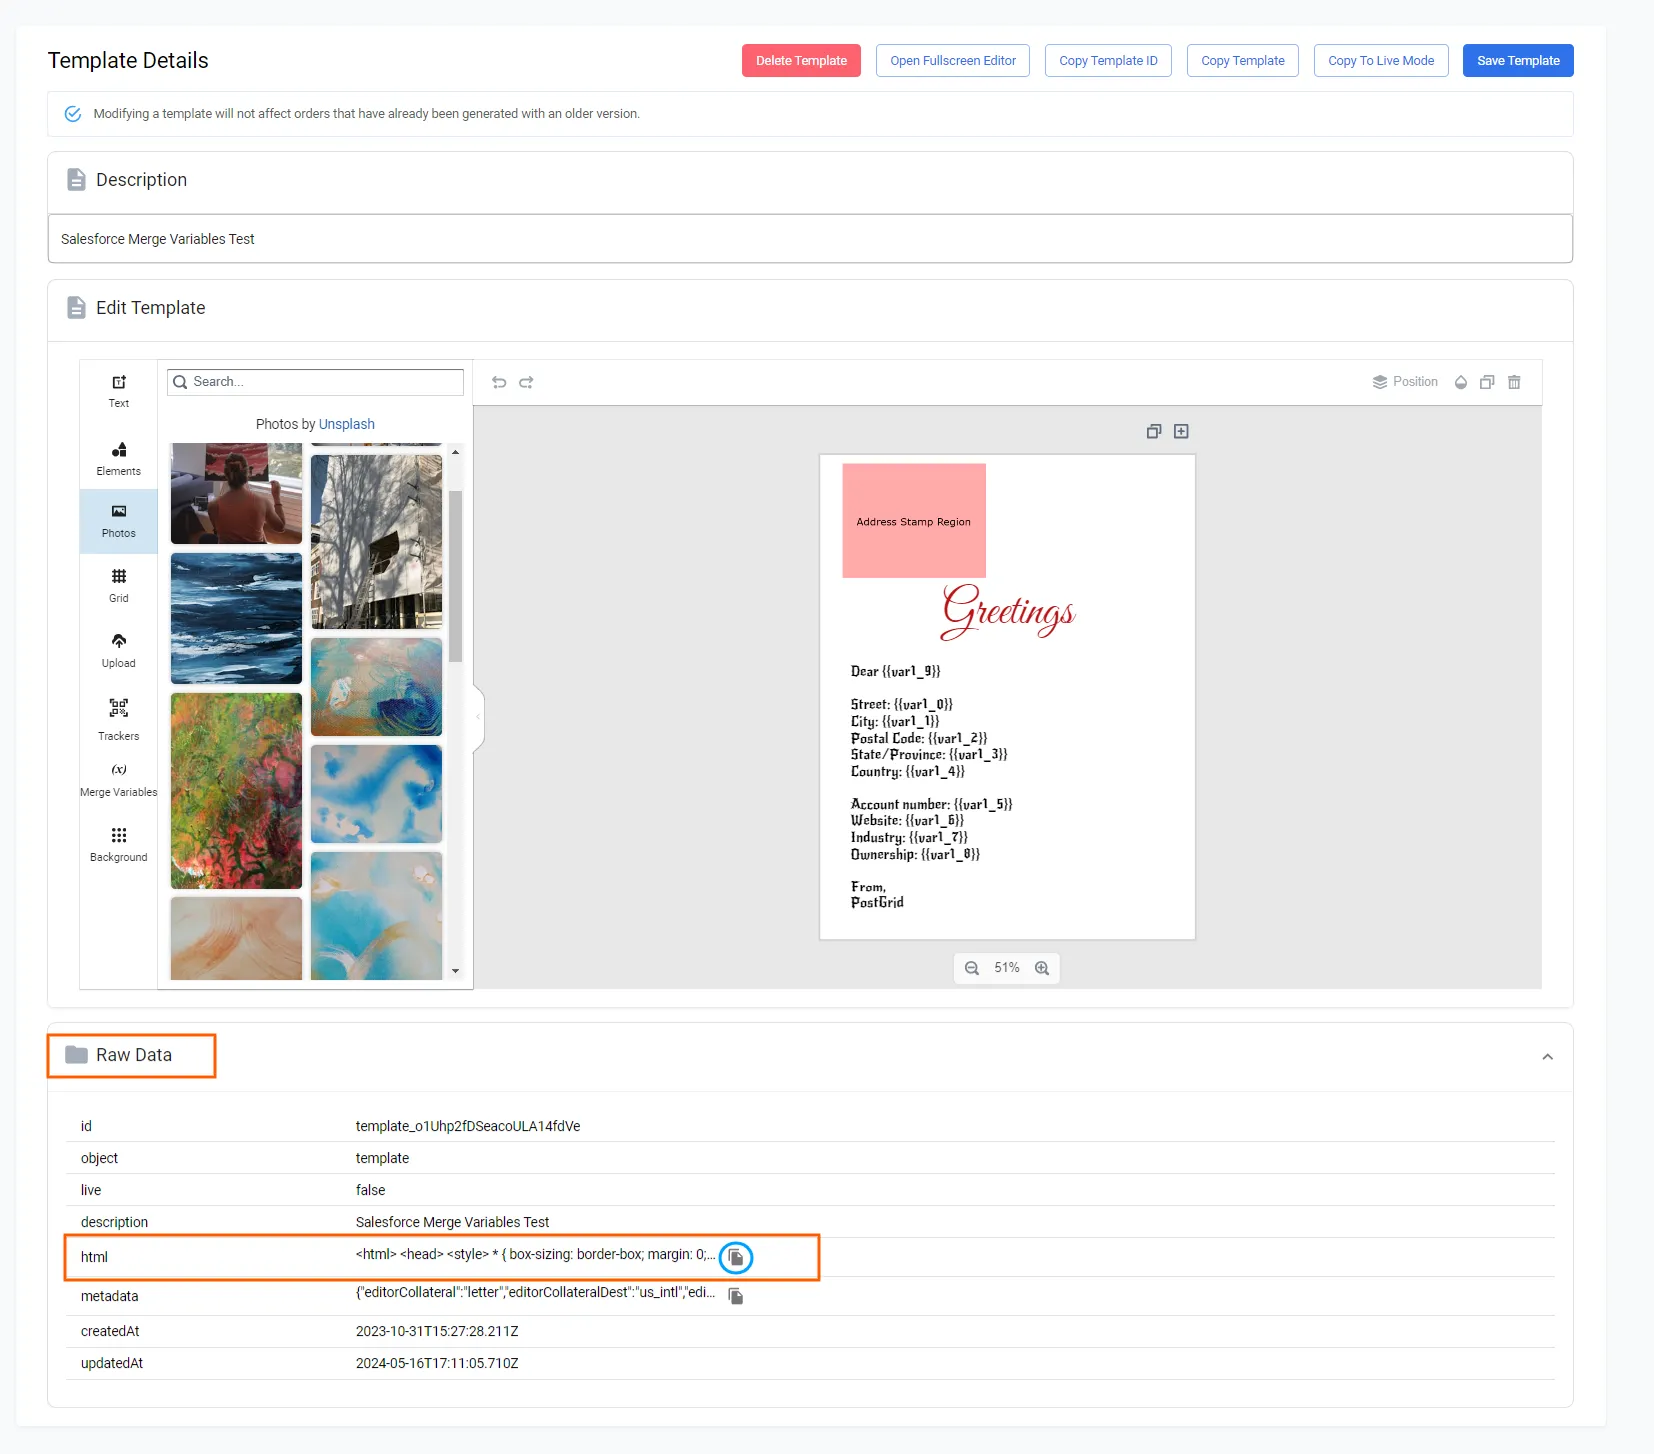
Copying the HTML code from the Dashboard
Section titled “Copying the HTML code from the Dashboard”If you have created a template using PostGrid’s Template Editor on the dashboard, you can access the HTML code for use in Salesforce. Click on “Template,” then “Raw Data,” and copy the HTML code to add when creating the HTML template in Salesforce.
Uploading a PDF
Section titled “Uploading a PDF”1. Click on “Print & Mail Contents” and then click on “New”
Section titled “1. Click on “Print & Mail Contents” and then click on “New””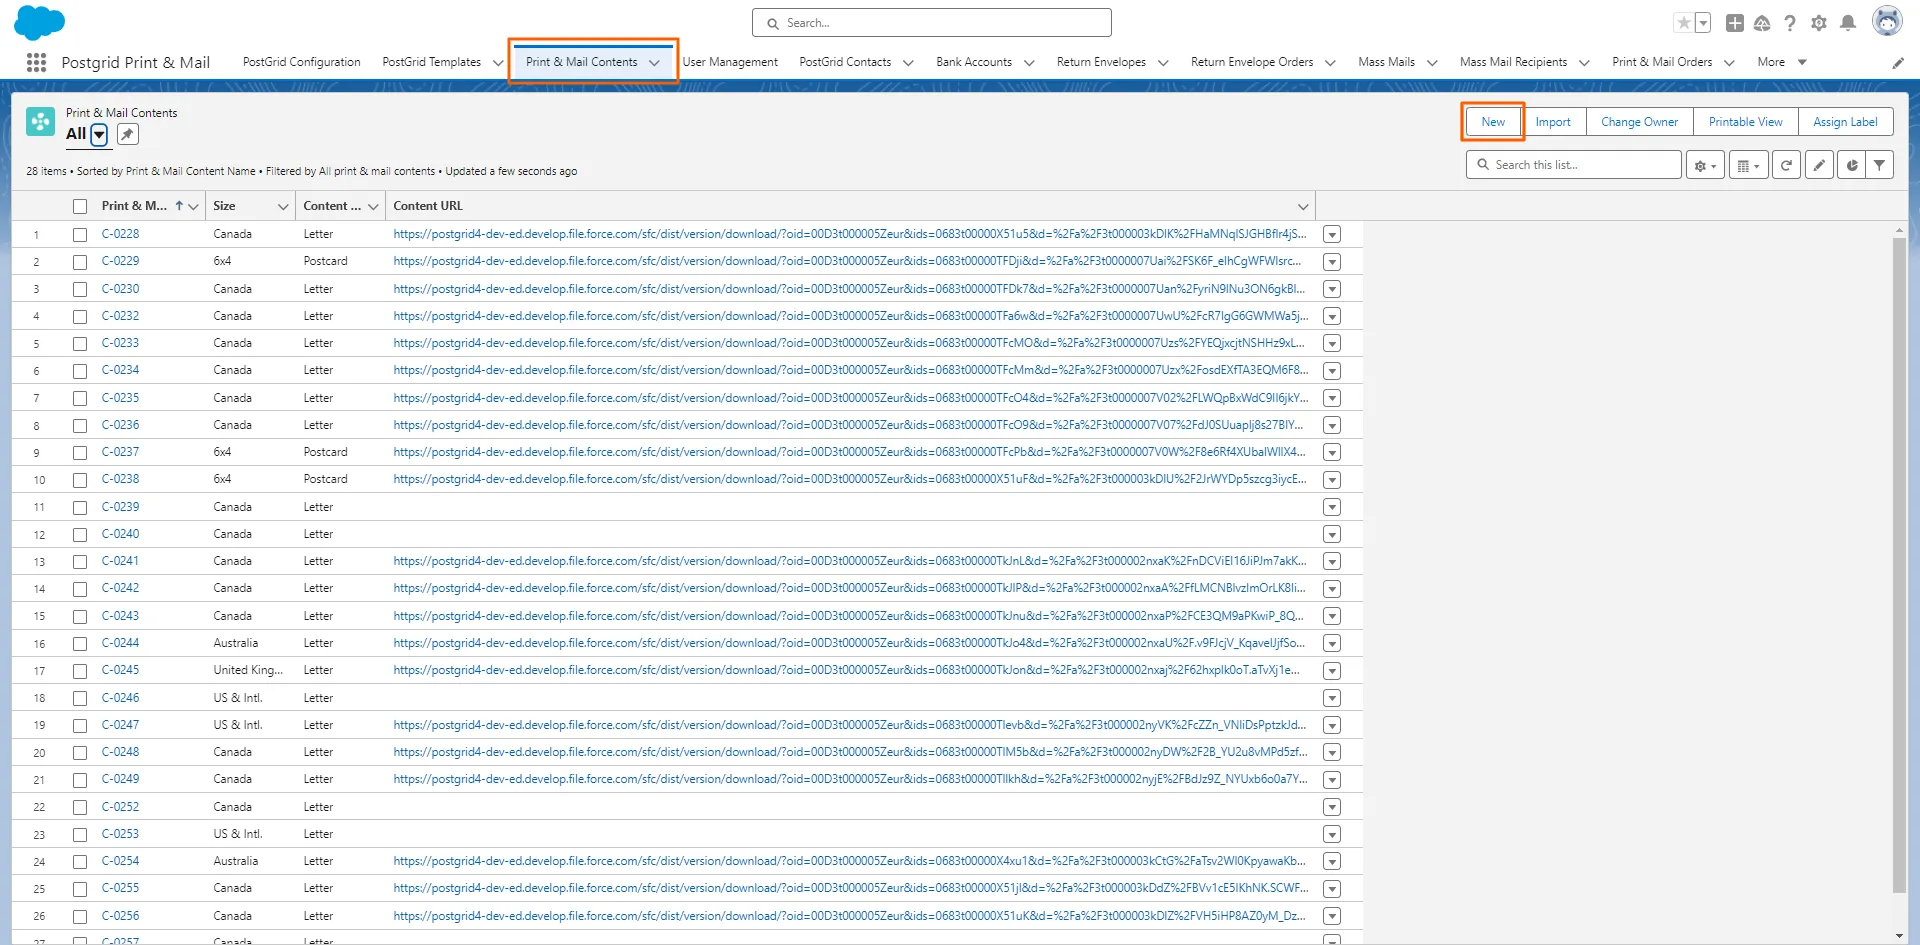
2. Select a Content Type, Size and click on “Save”
Section titled “2. Select a Content Type, Size and click on “Save””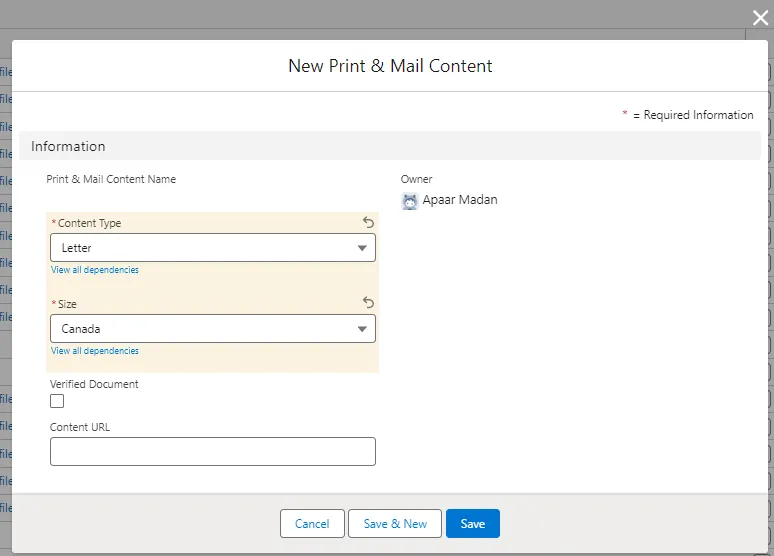
3. Once the Print & Mail Content Is Created, Click on Upload Content
Section titled “3. Once the Print & Mail Content Is Created, Click on Upload Content”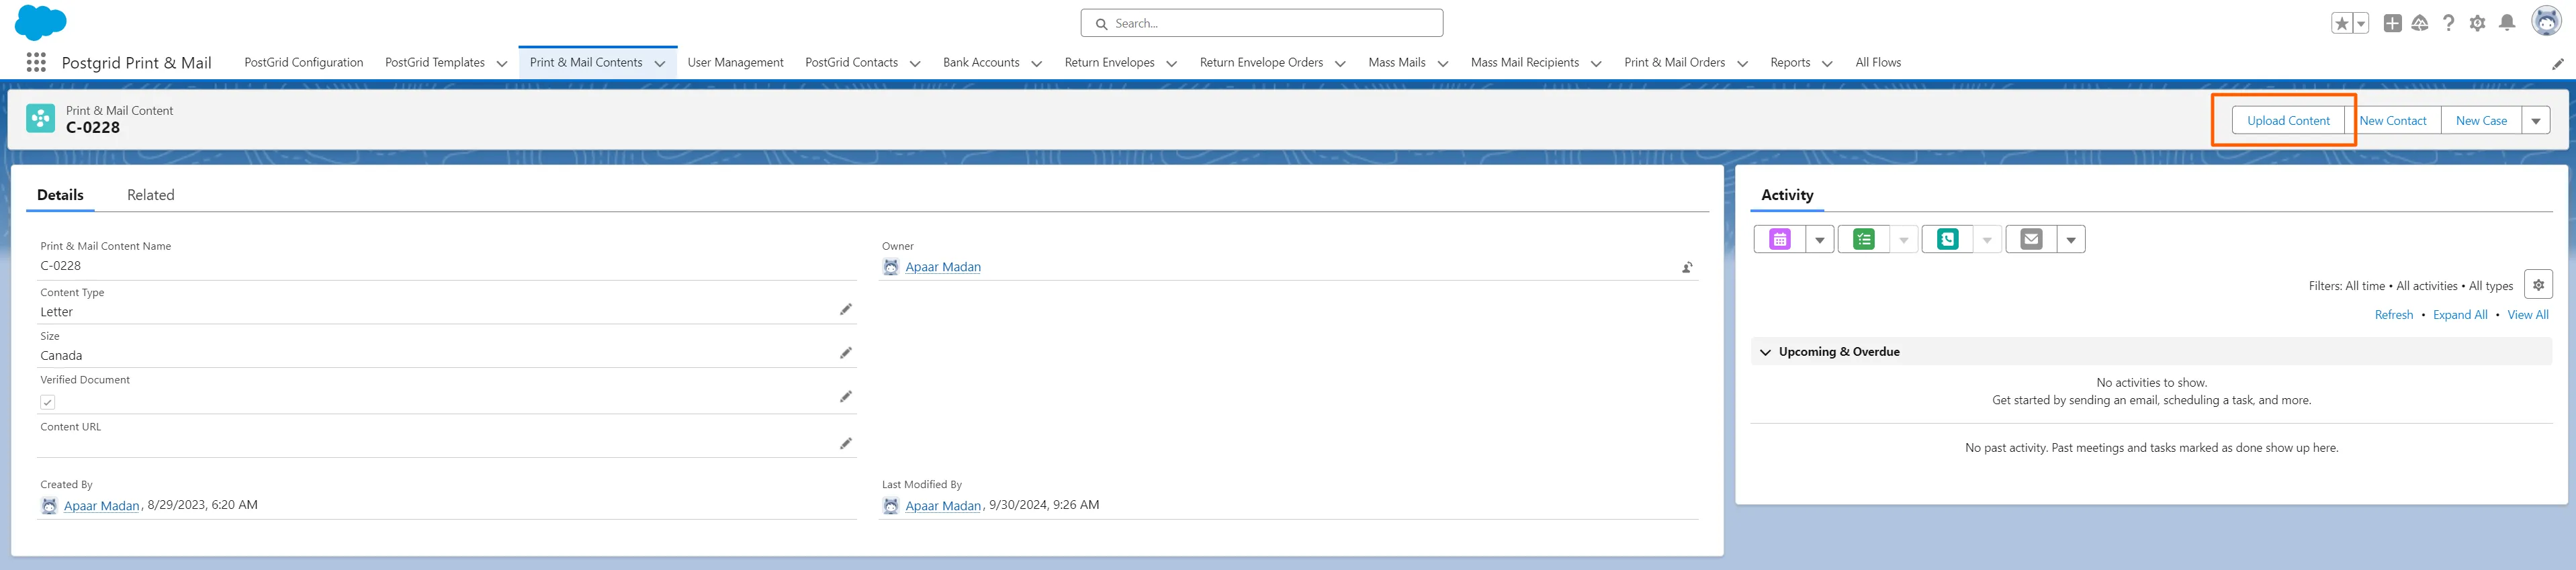
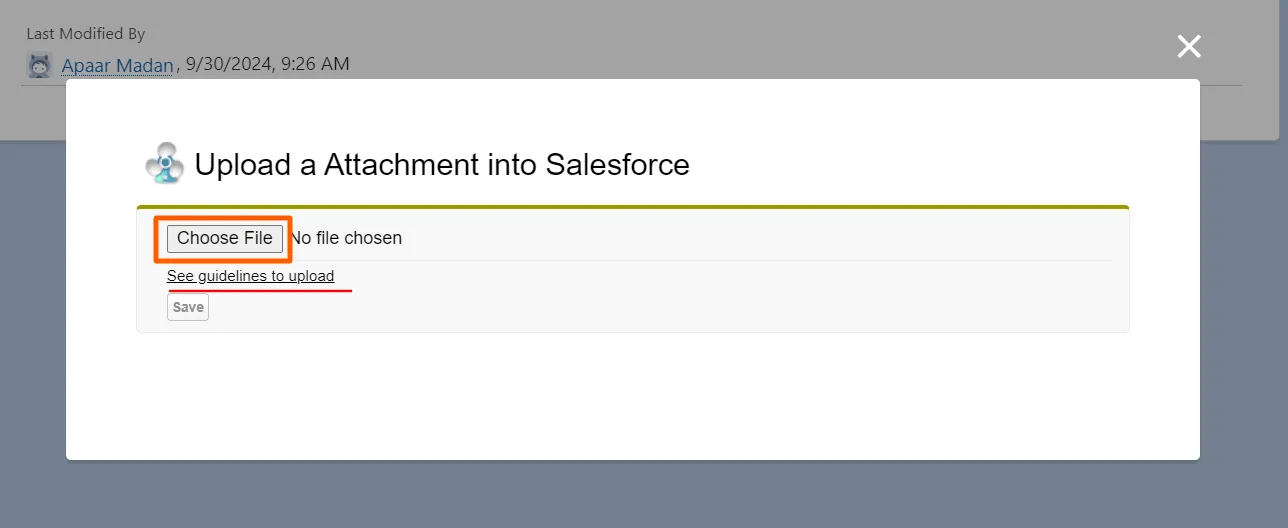
4. Check the guidelines before uploading the PDF to avoid order cancellations and click on “Choose File” to upload the PDF
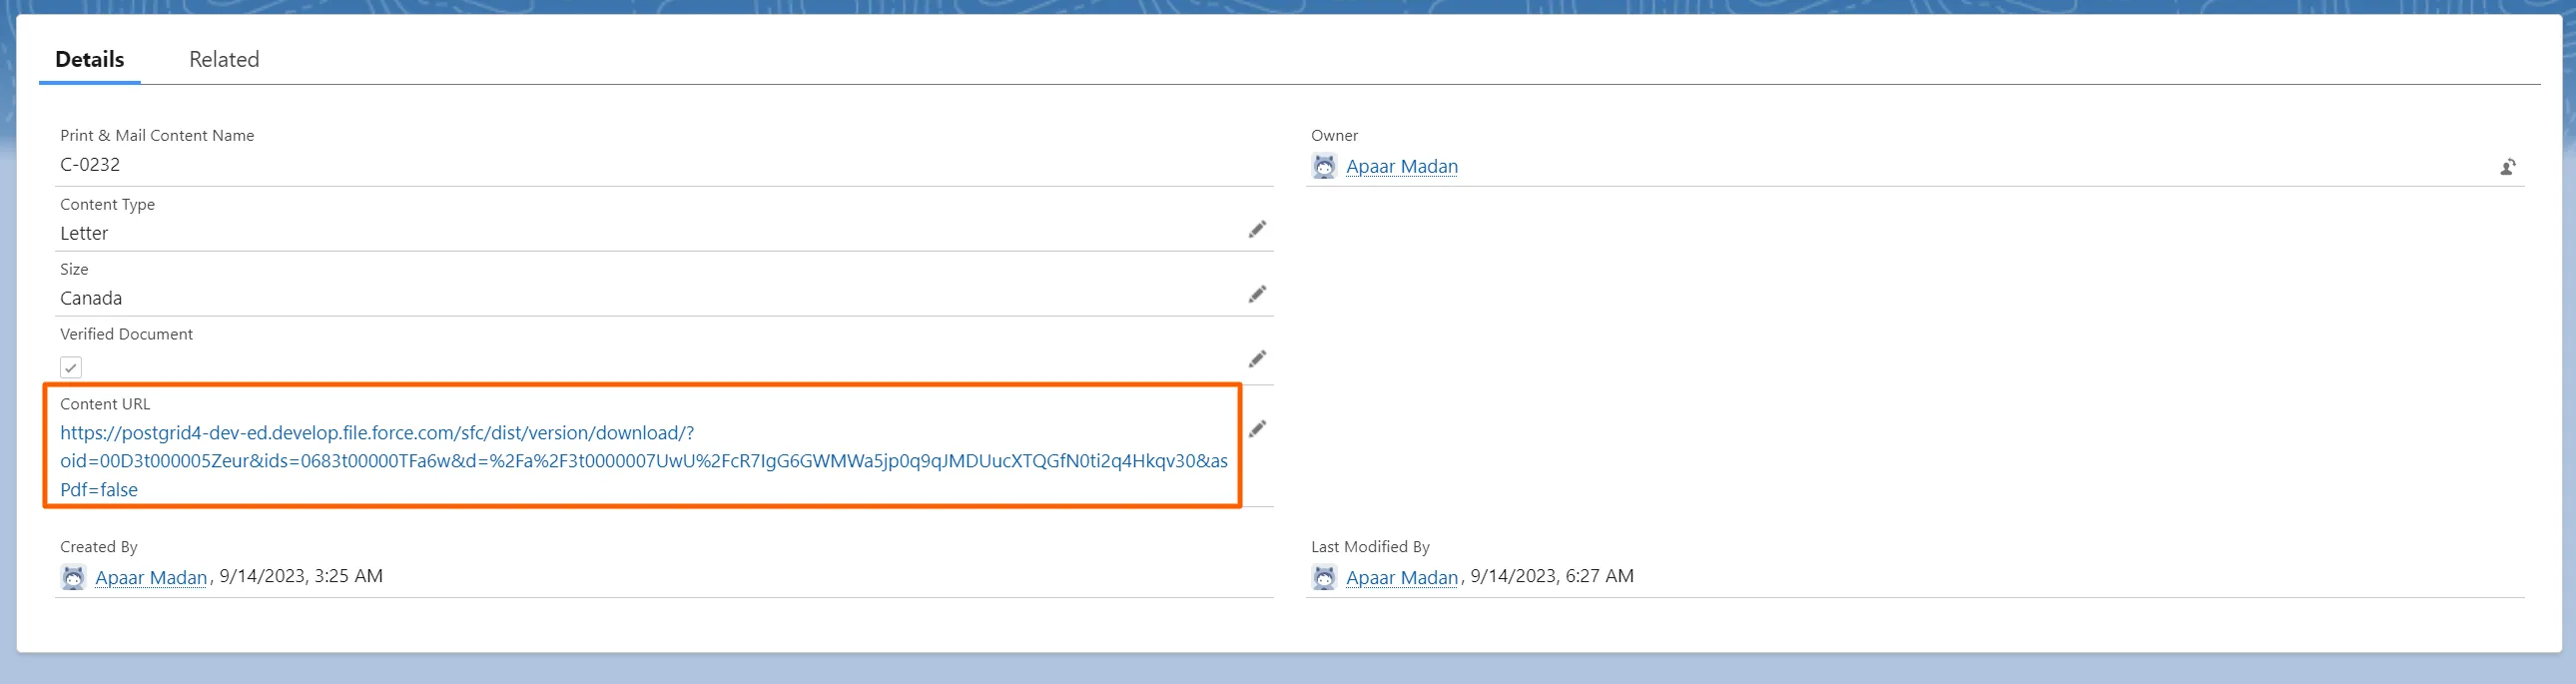
Section titled “4. Check the guidelines before uploading the PDF to avoid order cancellations and click on “Choose File” to upload the PDF”Once you click on Save, a Content URL will be generated for the PDF